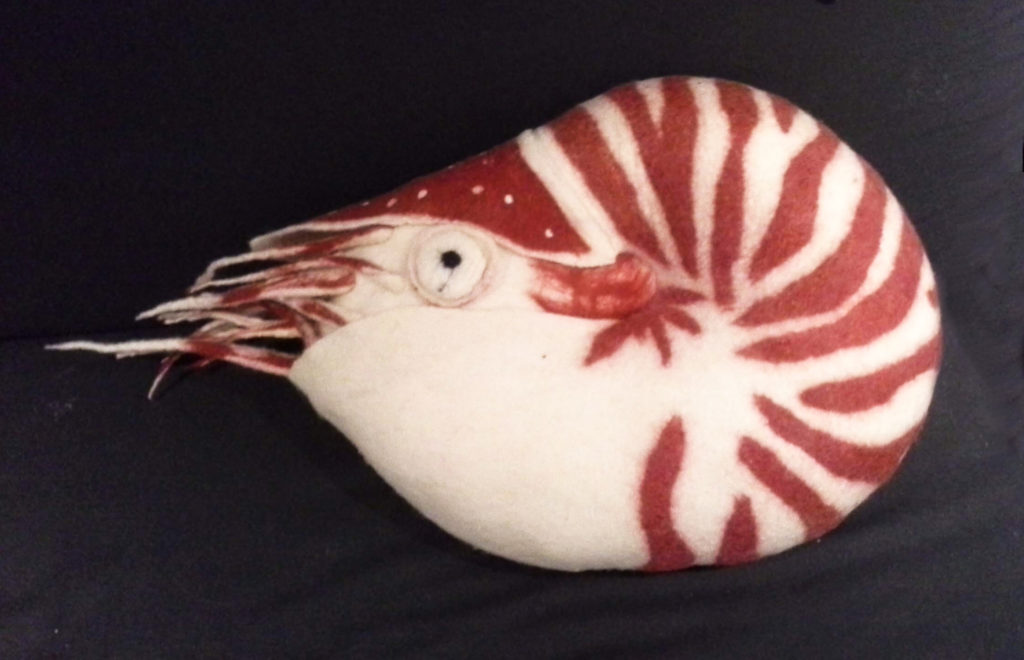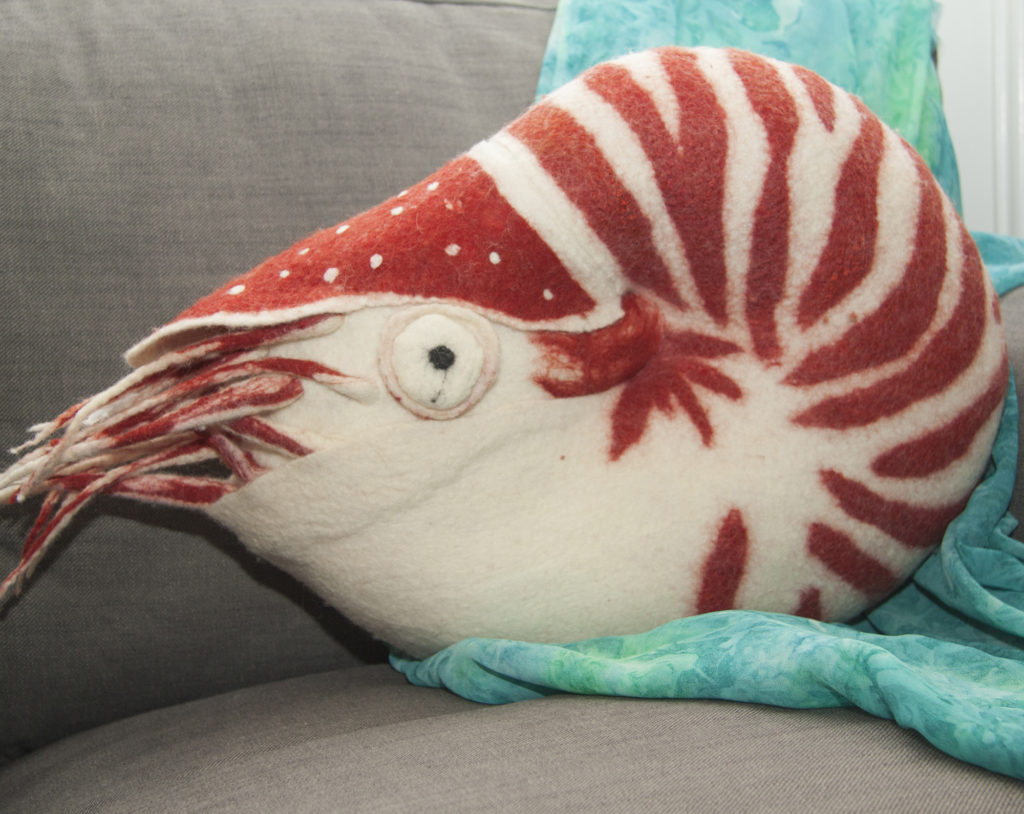
After I made several wet felted woolen pictures, I decided to try the same technique on decorative pillows. One of my first and favorite projects was the nautilus pillow.
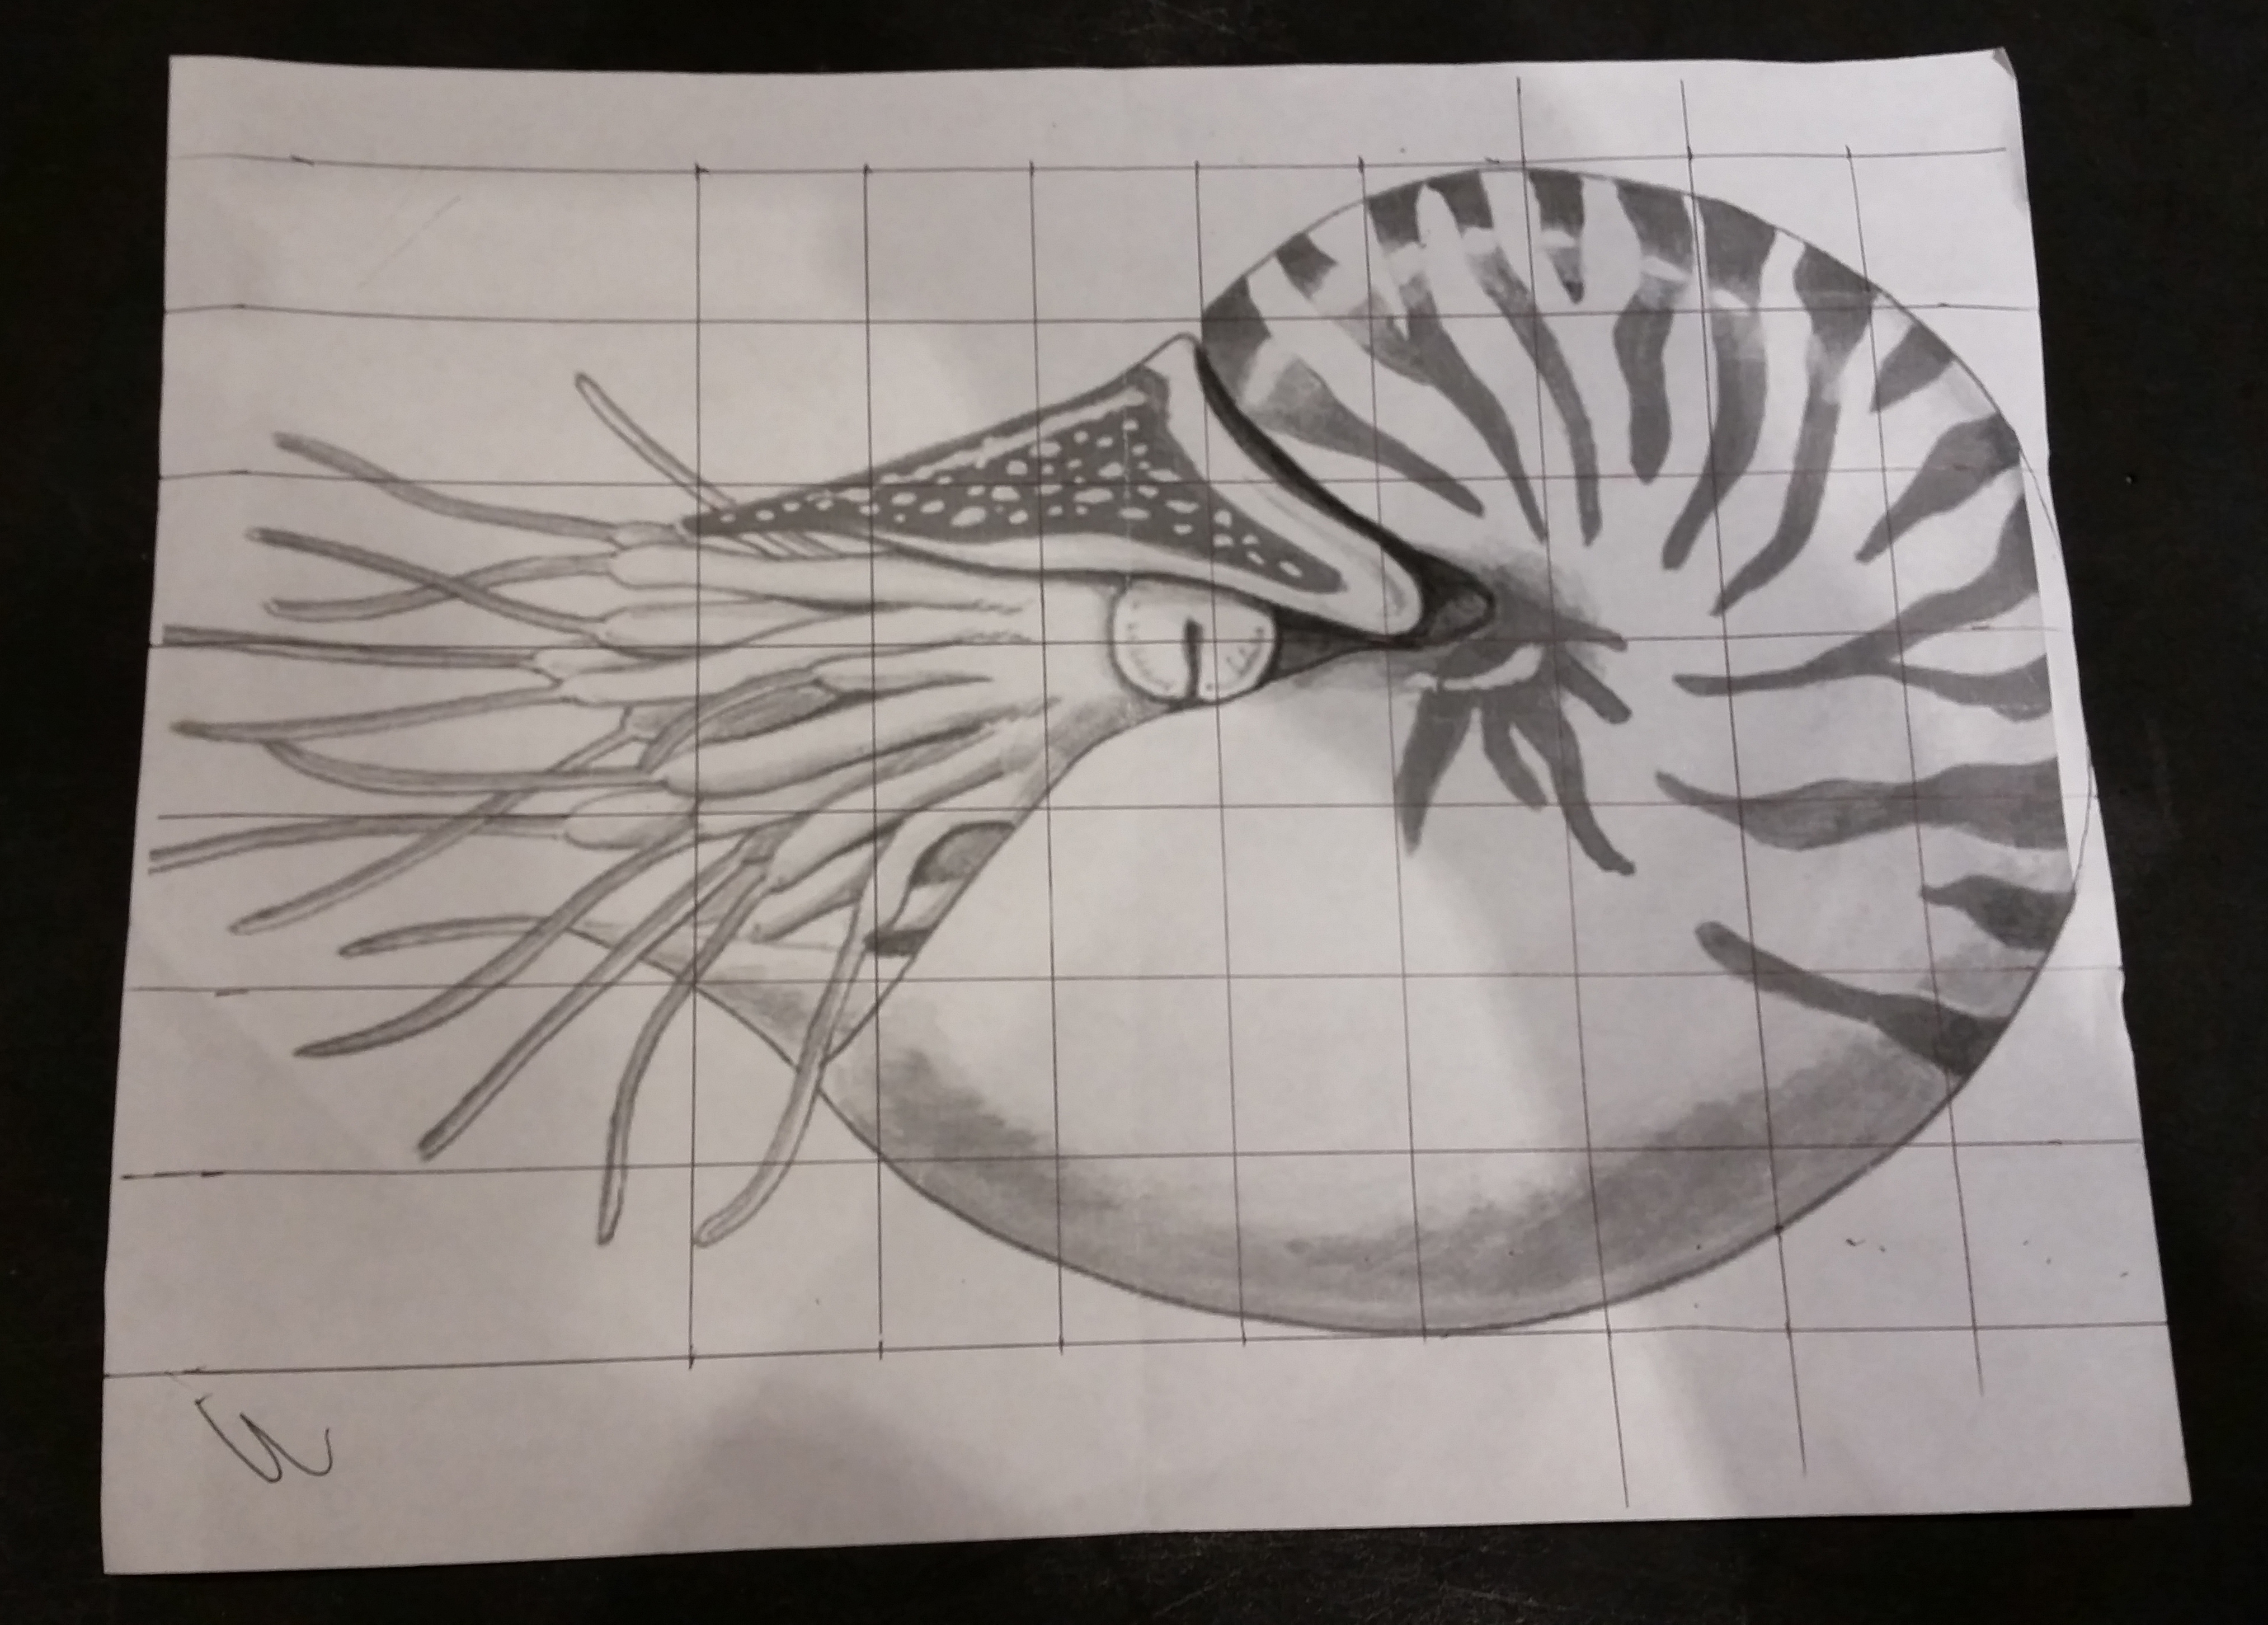
I felted a sample from wool to determine the shrinkage factor and calculate the template size. Then I found an image of a nautilus on the internet and printed the image on paper. I drew a grid of squares on the printed image of the nautilus.

Then I took a large piece of paper and drew a square actual size of my future nautilus. I increased the image size by the shrinkage factor calculated before. Next, I drew a grid of squares on that big image too. The number of squares on the small printed image must equal the number of squares on the big image. I carefully drew the image of the nautilus on big paper using the grid method. As a result, I got the same image of nautilus that I printed from the internet but increased by my shrinkage factor. The increased image of the nautilus is the image I used for felting in my next steps.
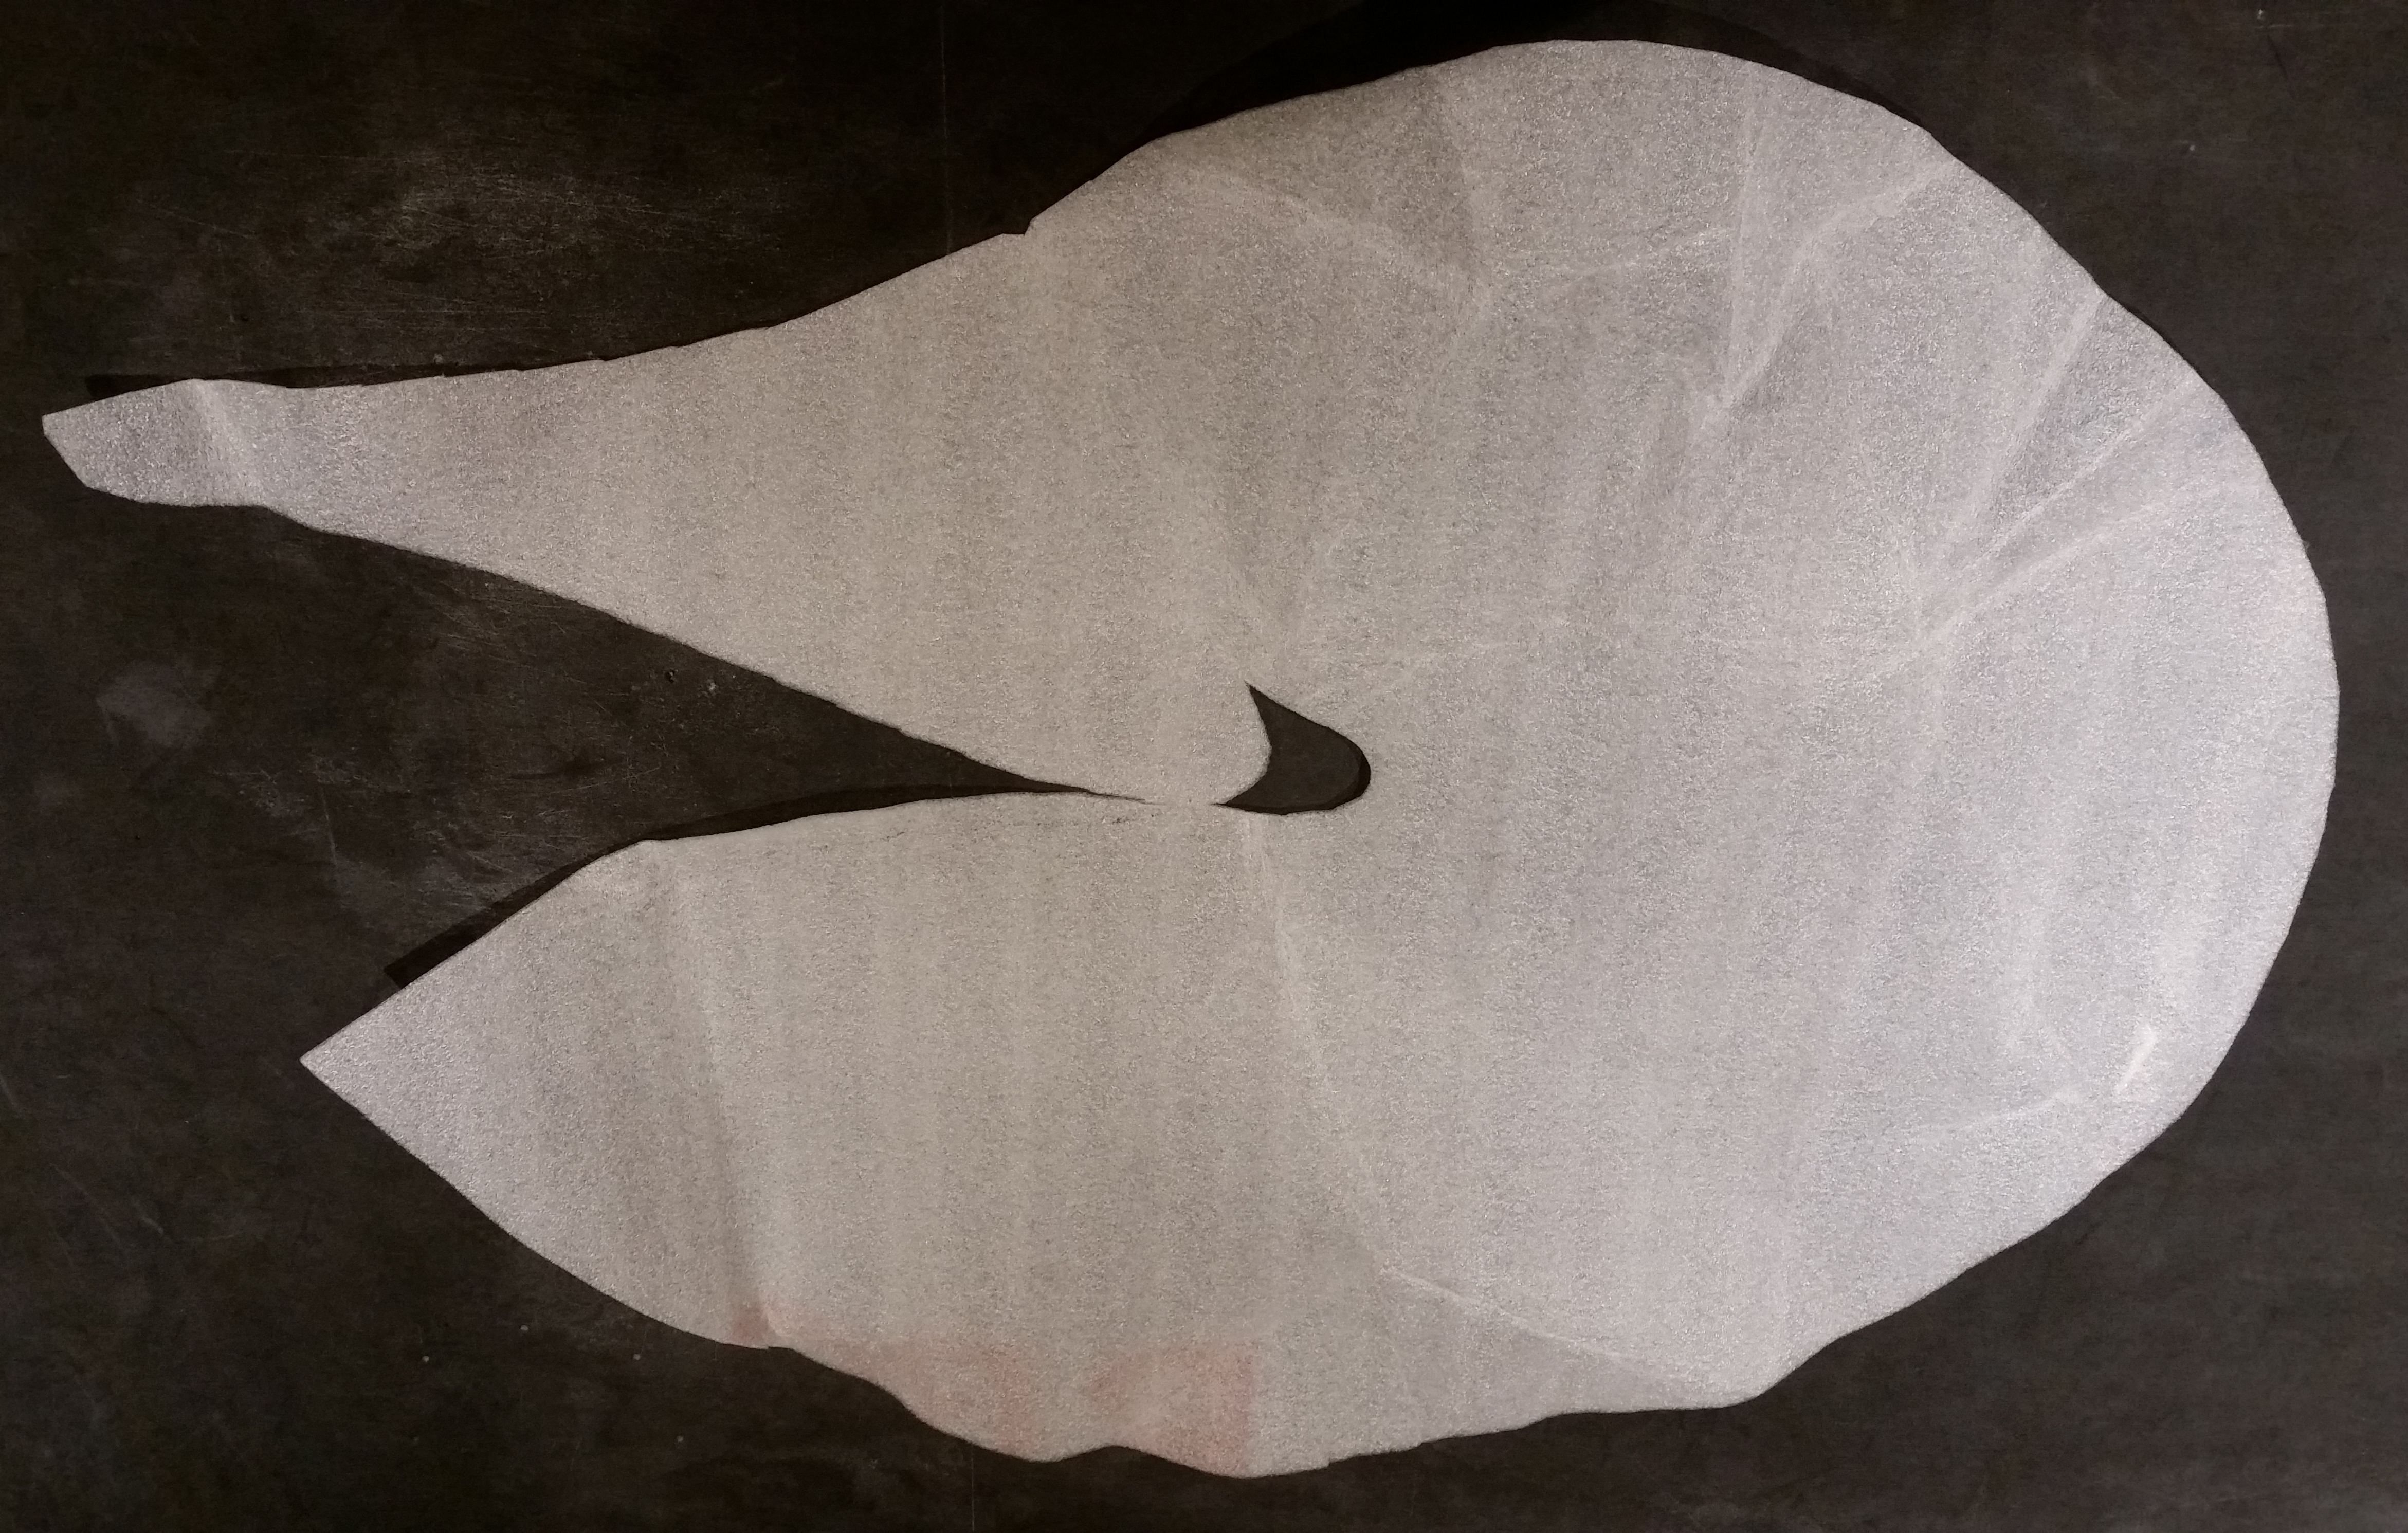
I cut the increased image of nautilus out along the contour and transferred that image on the material called underlayer for the laminate floor. At last, I got the template to start felting.

I also made templates for the red stripes on the body of the nautilus. First I made the prefelt (create a page about What is prefelt and add a link here) for red stripes. I layed out 2 layers of red wool in perpendicular directions. Then I wet the wool with soapy water and rubbed by hand for about 10 minutes. I left the prefelt on a table to dry. After the prefelt dried out I cut red stripes for the nautilus’ body using the templates.
I laid out white wool on the top of the template going over the edges of the template by 2 cm. I put red stripes that I cut from the prefelt over white wool. I used soapy water to wet all layers of wool, rubbed the wool by hand through sparse fabric.
Next, I flipped the template to another side and folded the edges of the wool over the template. I repeated the same steps to lay out wool and prefelt on the second side of the template, but this time I laid out the white wool exactly on the edges of the template. When I was rubbing the wool I paid special attention to the edges of the nautilus pillow.

Then I rolled nautilus on a roll, crumpled and squashed it, and threw it on the table until the felt was ready. Finally, I rinsed my felt, squeezed it in a towel, shaped it, and left it to dry. But it wasn’t the end. I needed to felt tentacles and eyes to have it finished and look like a real nautilus. I made each tentacle of the nautilus separately out of white and red wool. To attach tentacles to the body, I felted a piece of white felt of the right size, cut holes in it, and inserted each tentacle into these holes. Then I felted nautilus’ eyes. When the tentacles and the eyes of the nautilus were dry I could finally finish my work. I filled the pillow with fiber and sewed on a piece of felt with tentacles and sewed on eyes.
The felting of the nautilus pillow turned out to be laborious, but the result was pleasing. The process of creating such pillows was so exciting that I made a few more cushions for my friends.

Fish was made using the same technique. One improvement I added was a sewn in zipper on the side of the pillow. This way the cover could be washed if necessary.

These two pillows are made a little differently. The top is felted but the back is a plain fabric with a zipper. They turned out to be stylish and practical.