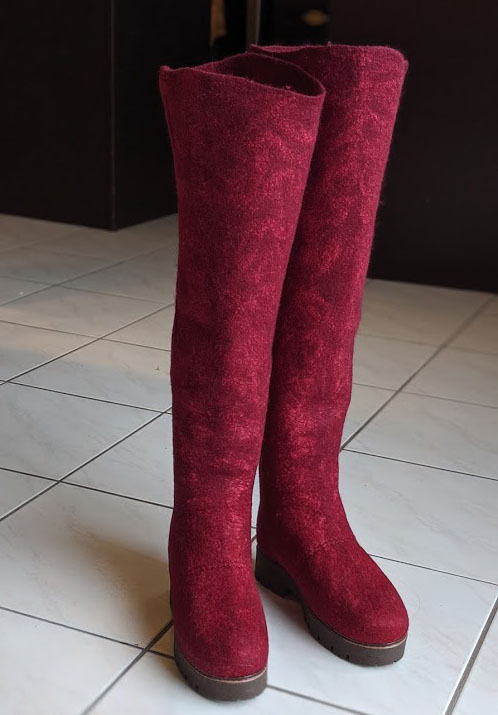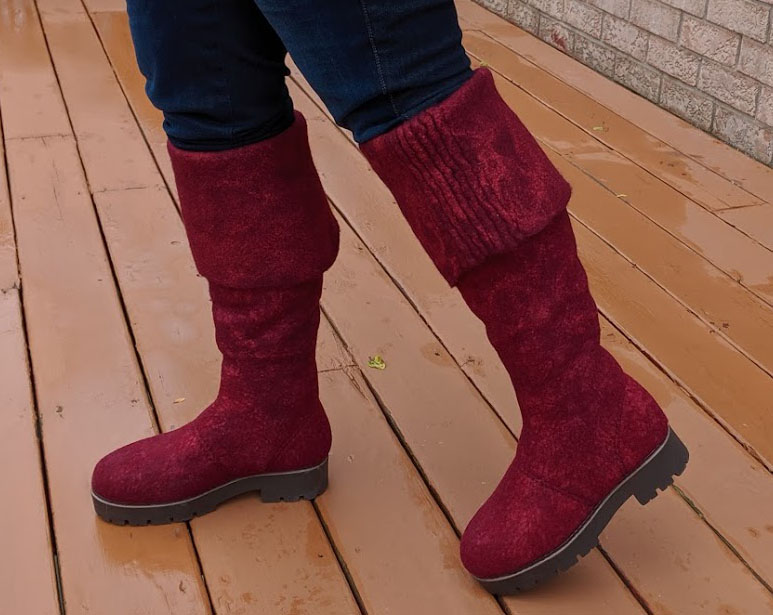
Over-the-knee boots made of wool protect the entire leg from the cold in winter. My daughter doesn’t like cold weather. She is always cold in winter. Therefore, I felted over-the-knee boots for my daughter to keep her warm.
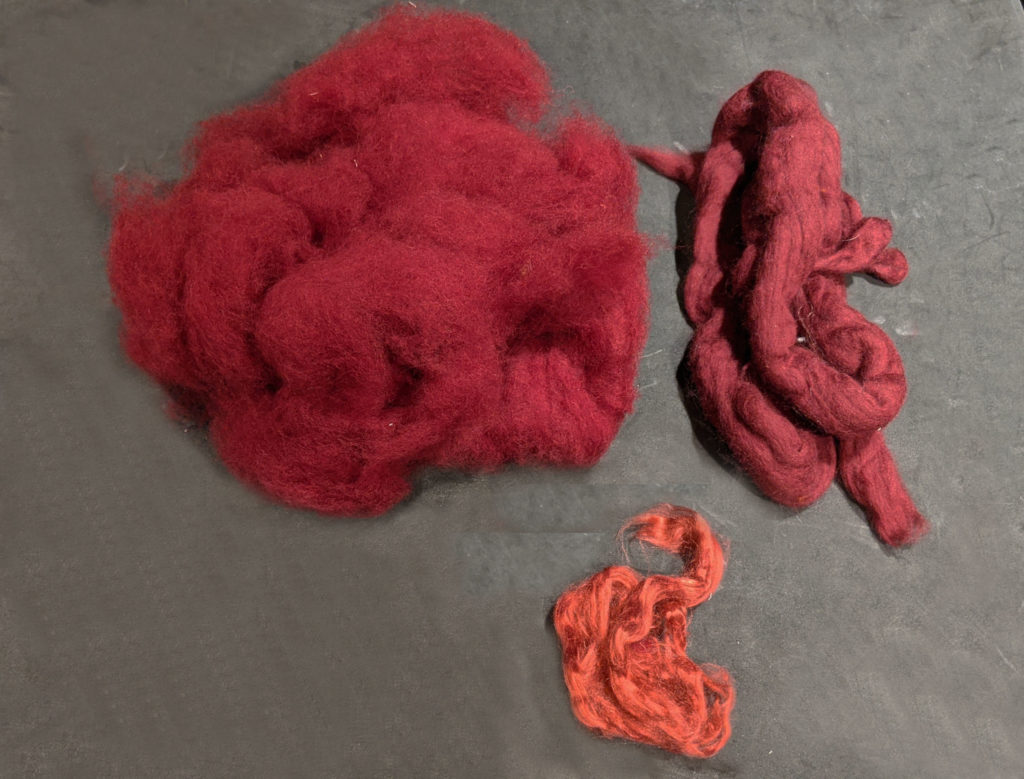
I bought 2 types of wool – burgundy carded bergschaf and 21 micron merino tops of the same color. To decorate the surface of the boots, I also bought burgundy viscose, but lighter than wool.
And of course I bought a sole. I already have all the necessary special tools for shoe making.
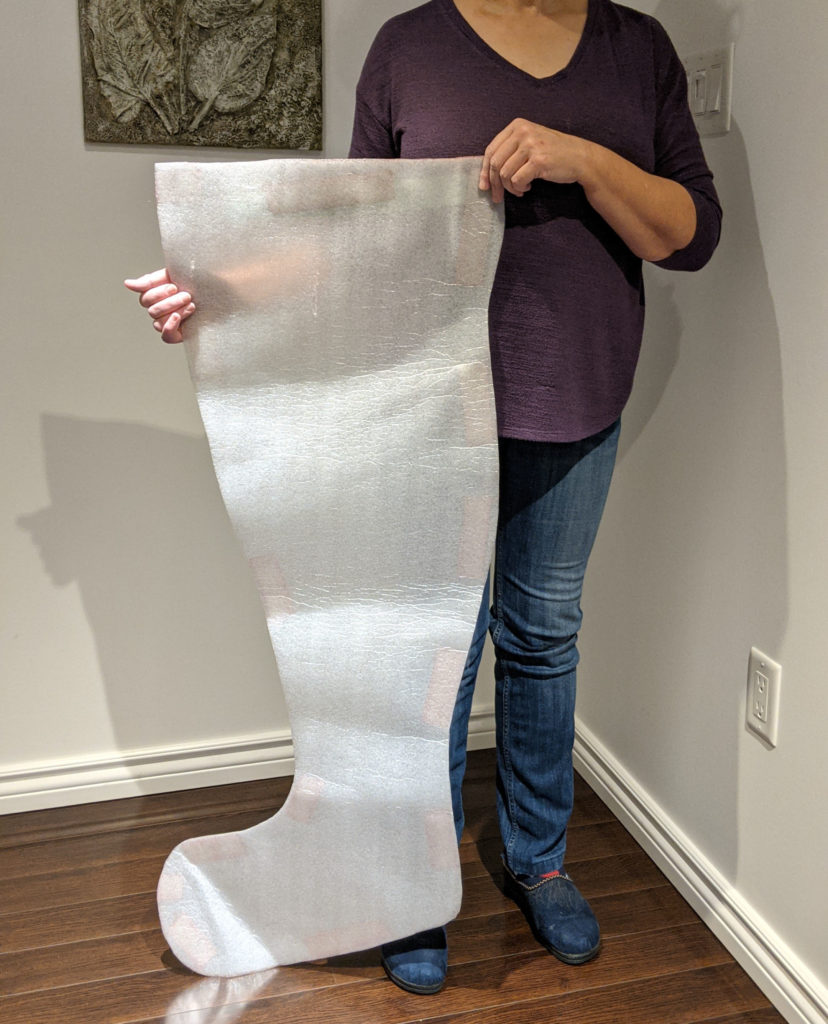
First, I built a template. I set the shrink factor to 2 and I ended up with a giant boot template.
Before starting the layout, I splited each of the materials into 2 equal piles because I have 2 boots. The boot template also has 2 sides and I accordingly divided each pile in half. So I got 4 heaps of each type of wool and viscose
I started laying out the wool on the template from the foot. The foot is exposed to great stress when walking, so the area of the foot should be made of strong, thick wool that can maintain its shape. Carded bergschaf is very good for it. I put 2 layers of bergschaf only in the area of the foot.
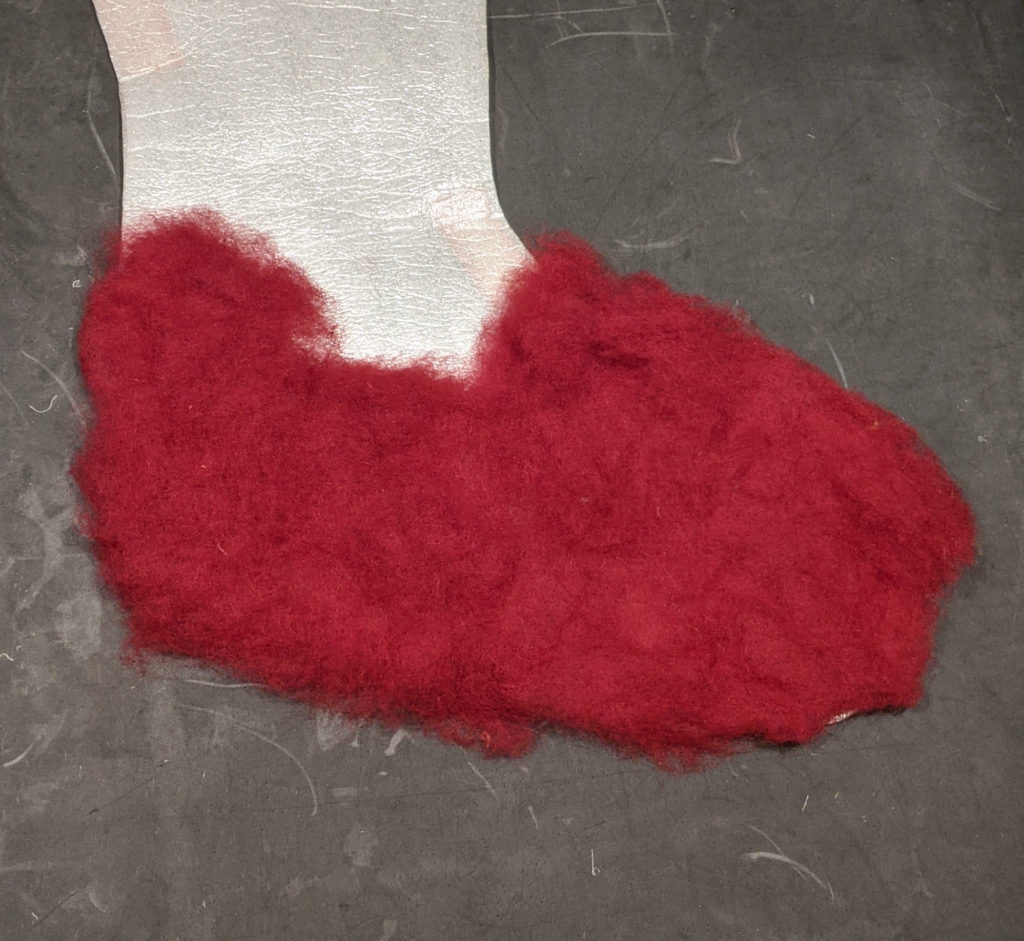
On the shaft of the boot I spread a layer of viscose to make both sides of the boot good looking from the outside and from the inside.
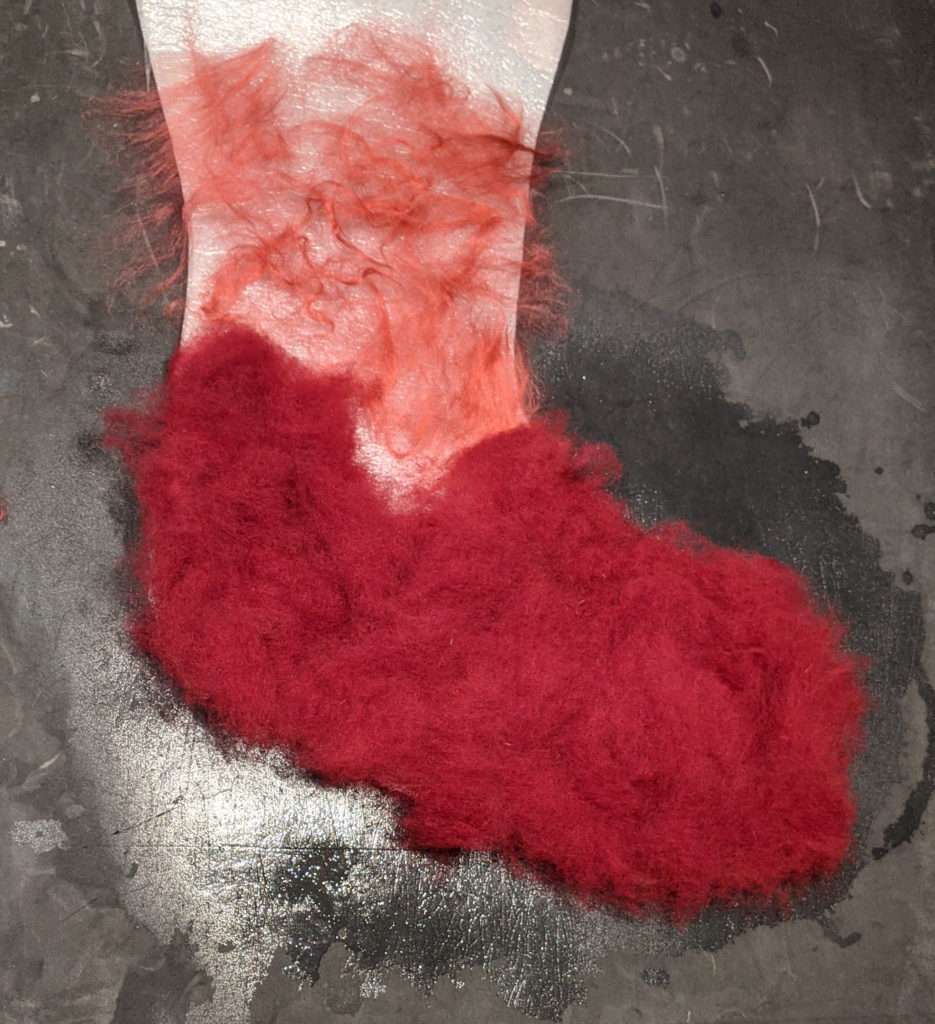
I soaked the bergschaf with soapy water and pressed it well against the template, and only slightly sprinkled a layer of viscose. Then I spread 2 layers of merino wool over the entire template, moistened the layout with soapy water, rubbed it lightly through the mesh.
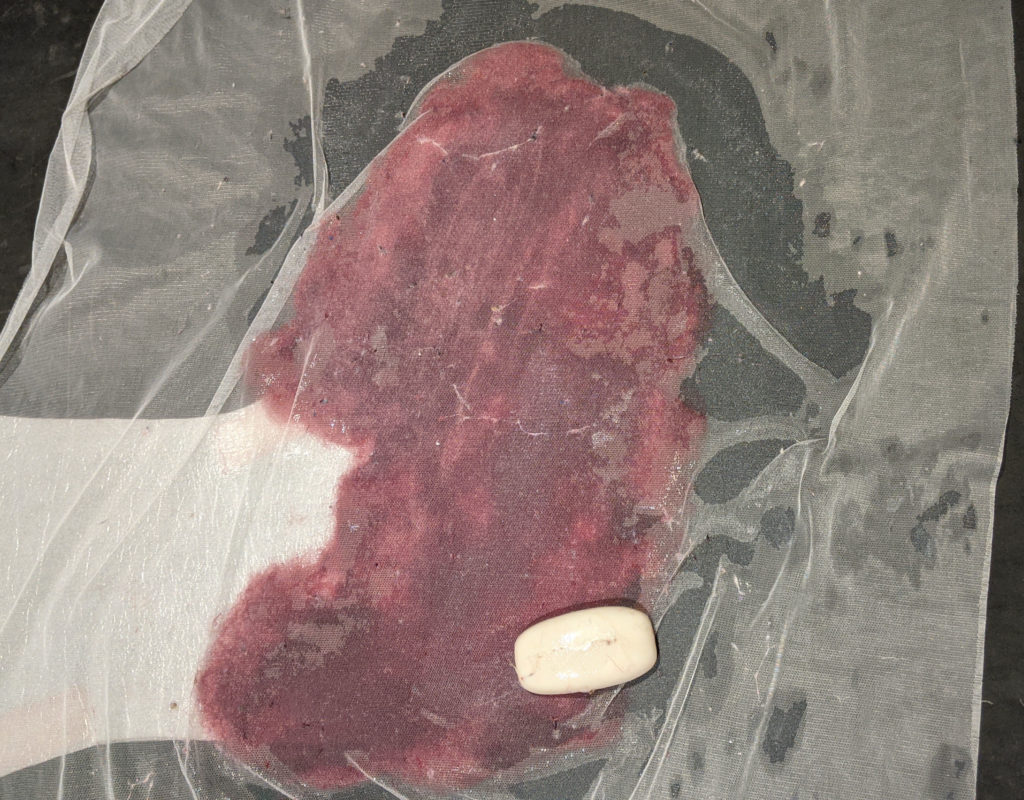
I turned the template over to the other side and repeated the layout of the wool. On top of the wool, I laid viscose fiber on both sides of the template.
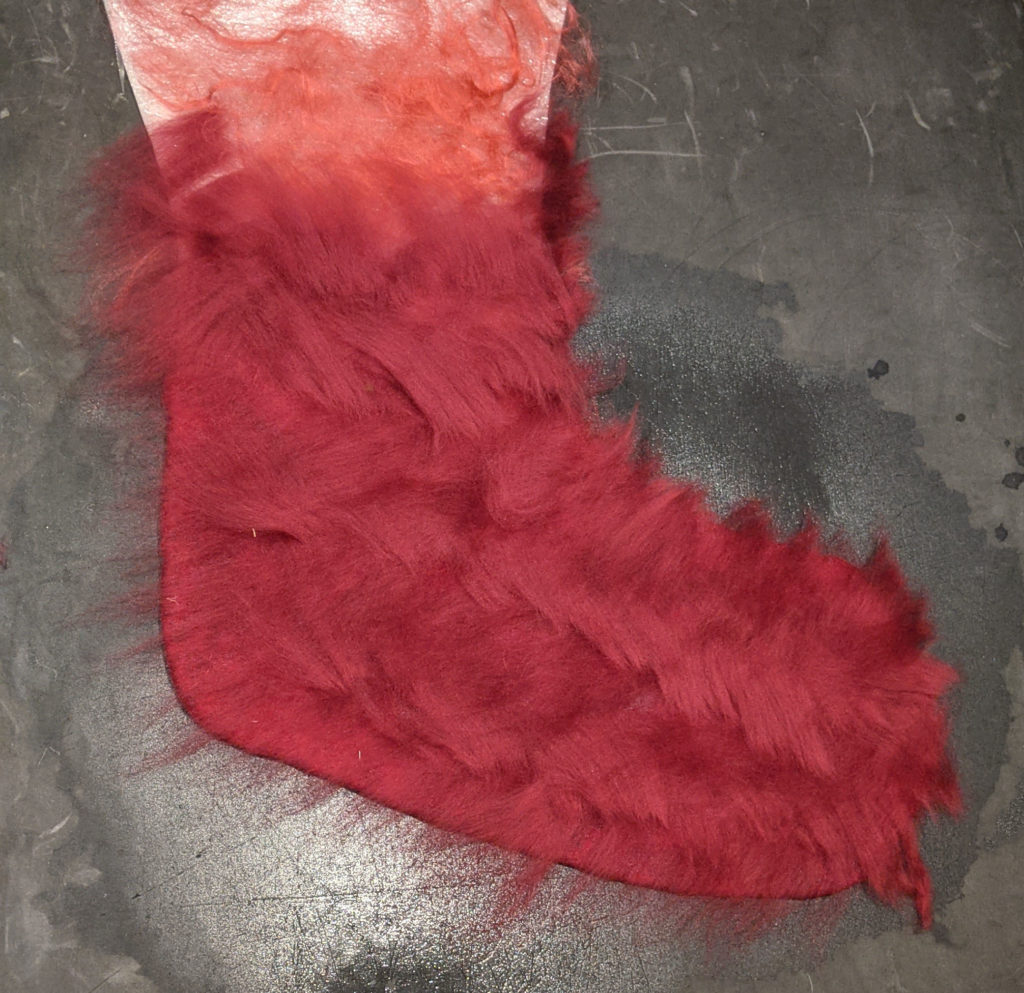
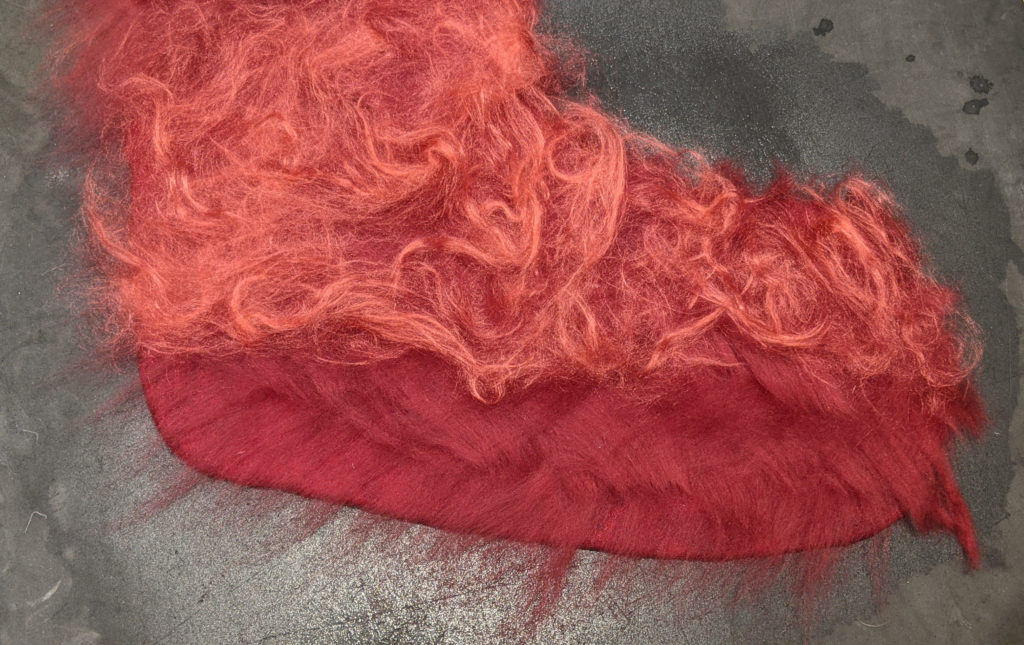
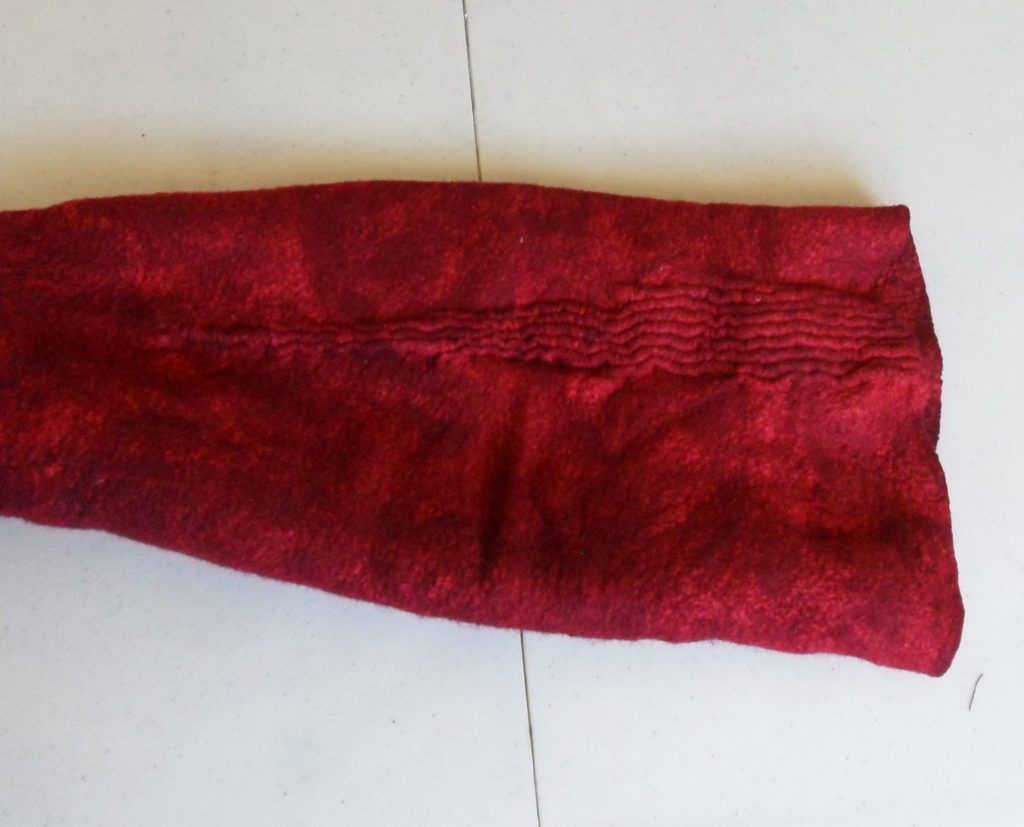
As you can see, the layer of wool on the foot is much thicker than on the shaft, so I felted the foot and the shaft separately. At first, I worked for a long time with the foot of the boot, without touching the shaft, and then I only felted the shaft. On the top outside of the shaft, I made a felt shibori to decorate and give a stretch effect. Using a needle and thread, I formed folds on the wet, half-finished boot and continued felting. In the place where it was sewn, the wool rolled and formed voluminous folds.
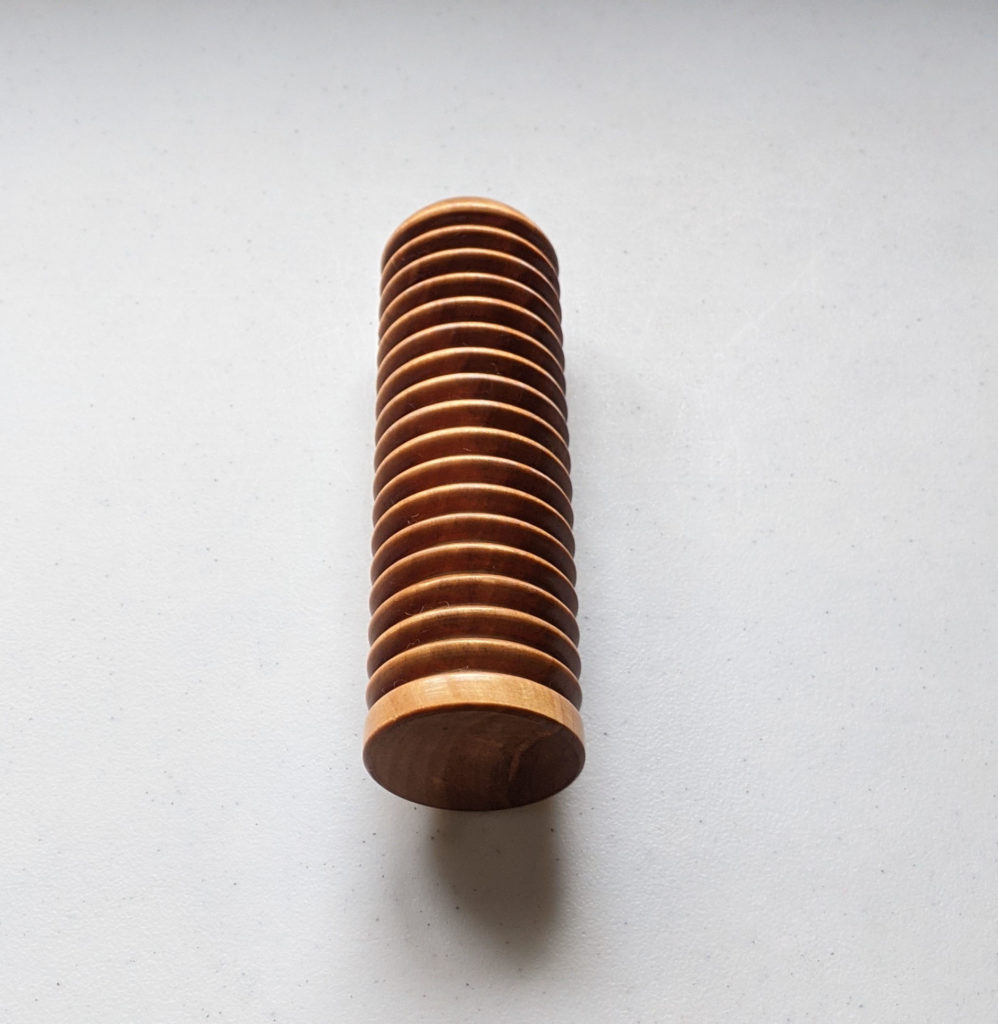
When I rolled the boots down to the right size, I began to think about how to shape them. I couldn’t use a shoe last because I couldn’t fit it inside the boot. The shaft is long, the ankle area is narrow and the zipper on the boots was not intended for me. Then I rinsed out the almost finished boots and dried them. I decided to attach the sole to the boots first and then give them the final shape. I sewed the sole to the boot with a special boot awl. Then I wet the boot with warm water and lathered it with laundry soap. I gave the final shape to the boot with a special wooden tool, carefully smoothing the surface of the boot with it.
In the process of forming the foot, I tried on a wet boot on my foot several times. To give the correct shape and size to the boot shaft, I made a mannequin of a real leg using adhesive tape and construction polyurethane foam. Finally, I rinsed the boots one last time, reshaped my foot, and inserted my homemade dummy leg inside the boot. I left the boots to dry. After a few days, I stitched the heel and instep of the boots with waxed threads
I treated the surface of the boots with steam using a regular iron. Good boots turned out! Feet in them do not freeze, do not sweat and do not get wet. Very practical boots!
