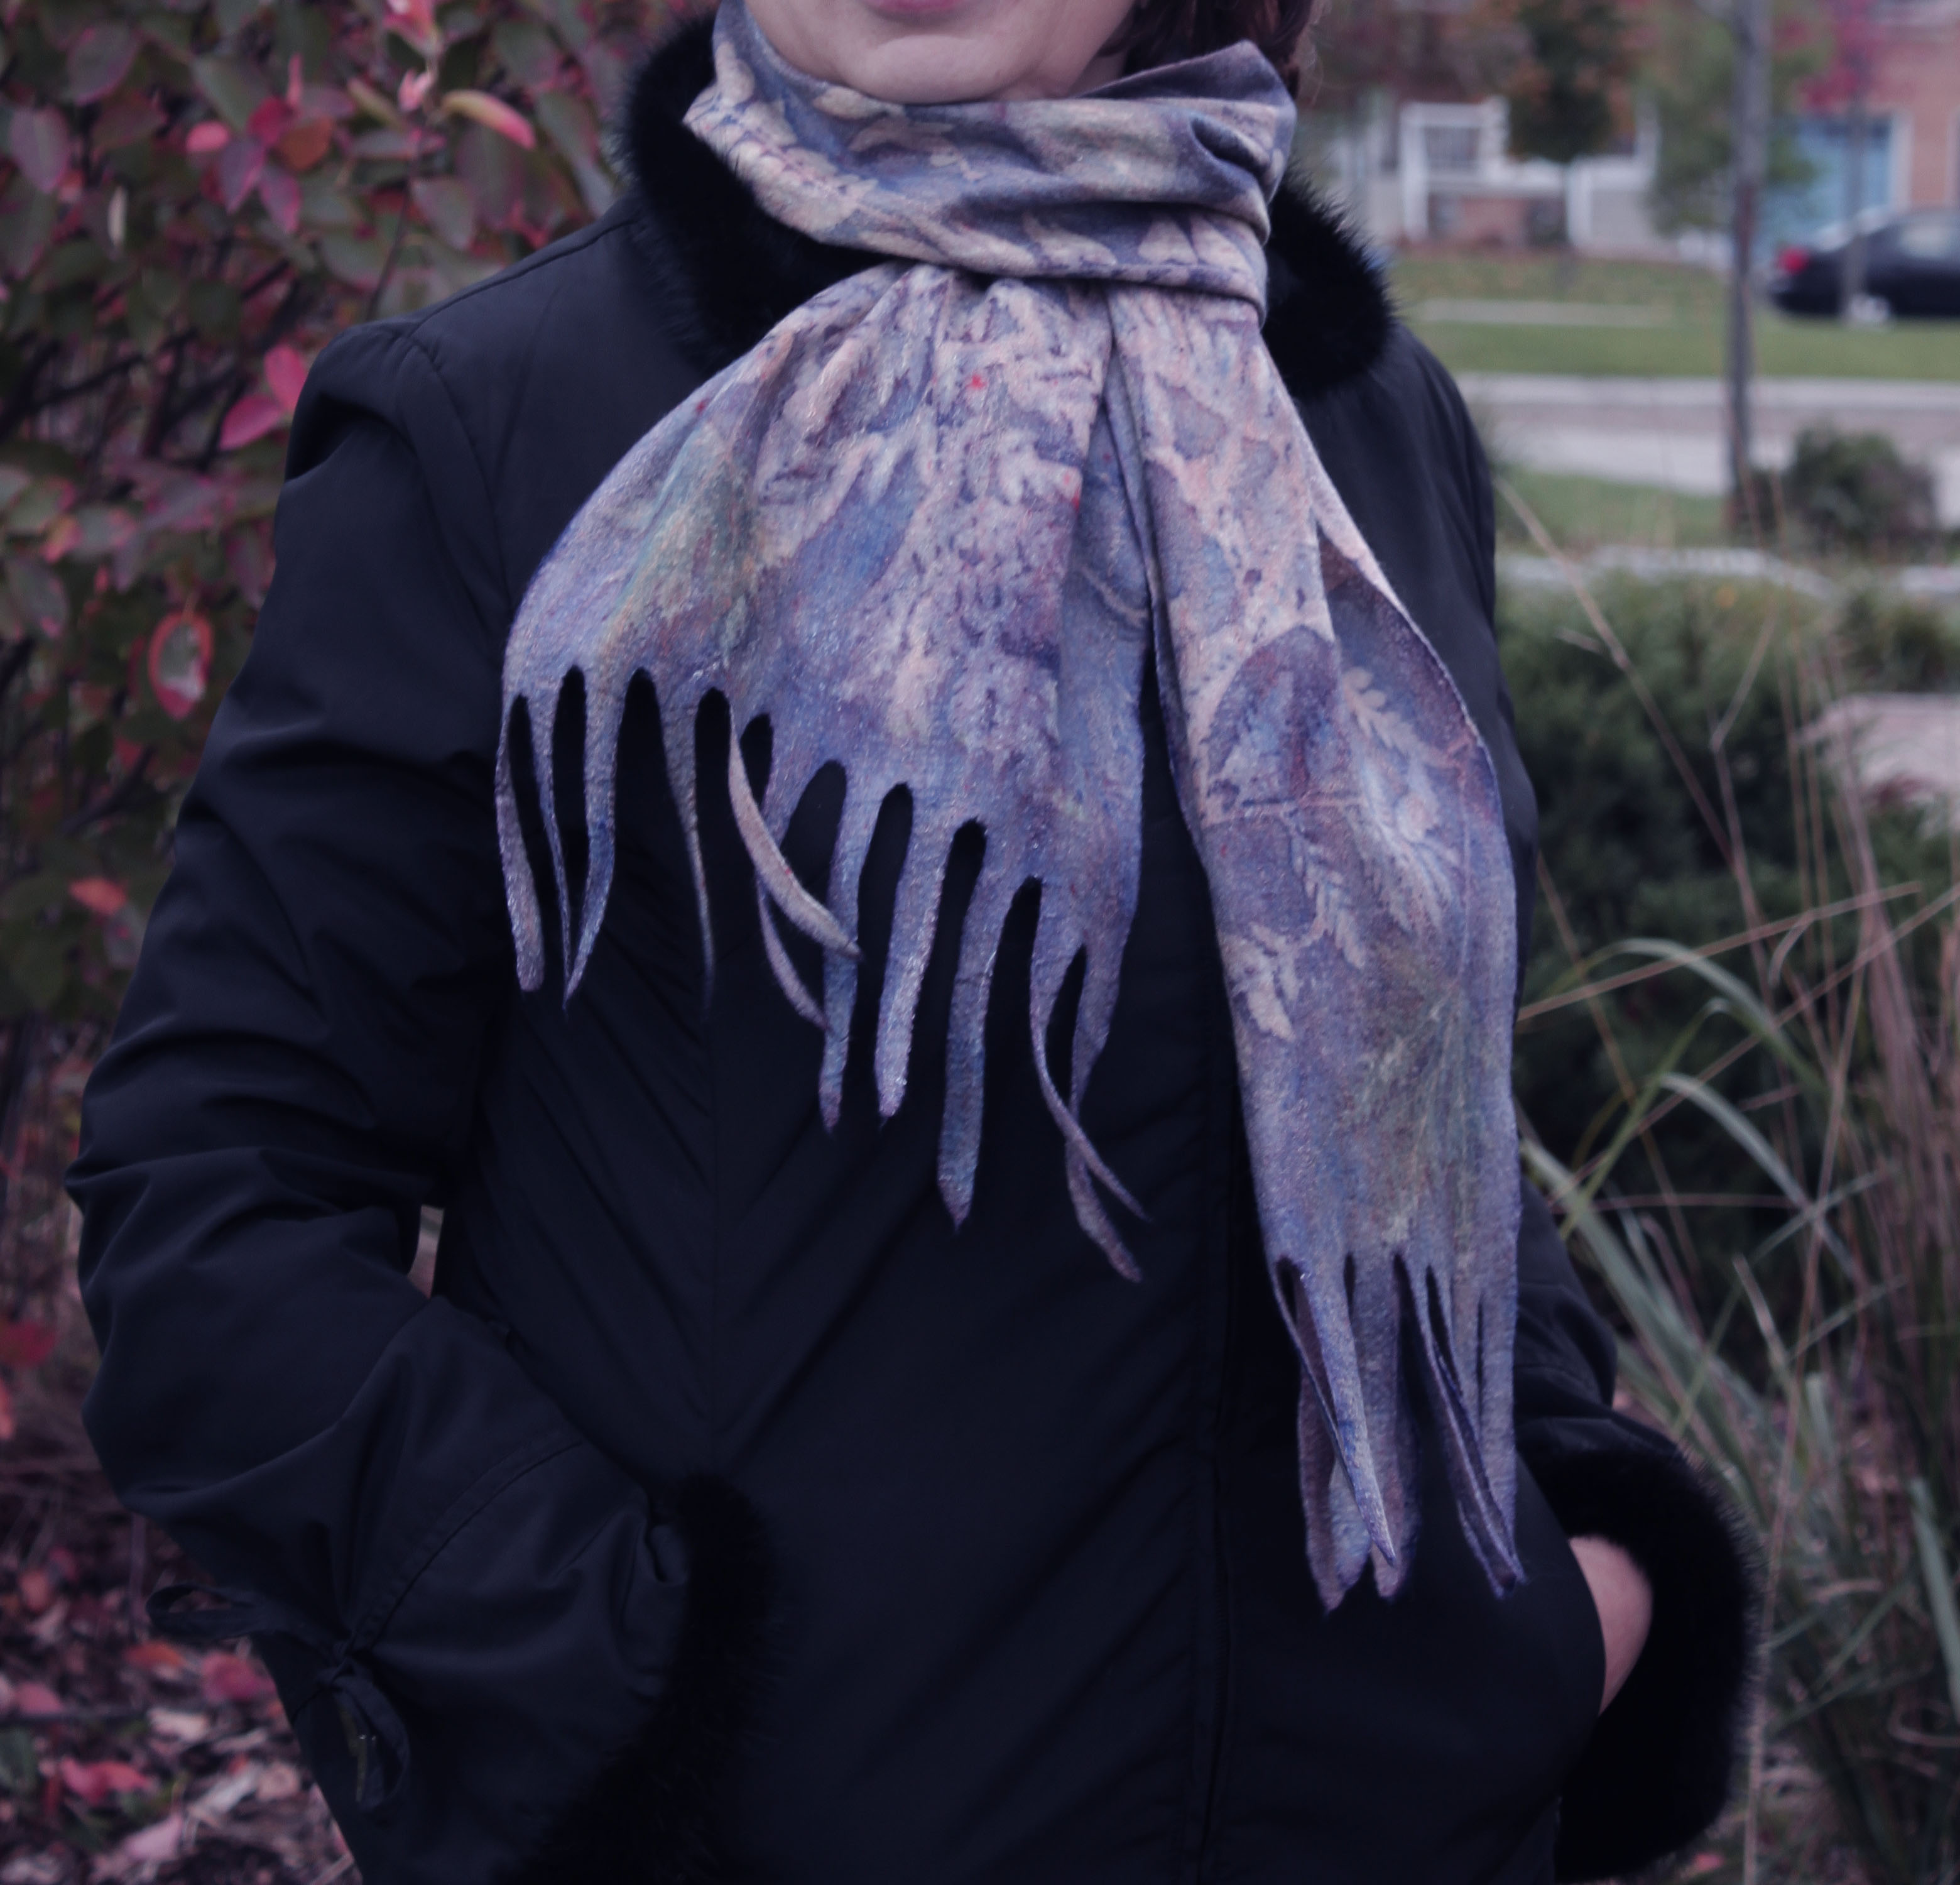
Once, I went to a store to buy some supplies for one of my projects and I
accidentally stumbled on a botanical print master class that was being held in
that store. What a lucky coincidence it was! Of course, I got interested and
stayed for the master class.
At the master class I learned that botanical print is a dyeing technique that uses
acid dyes and parts of plants for prints. I was shown how to use that technique
and at the end of the masterclass I bought 4 colors of ashford acid dyes to try the
botanical technique at home.
Of course, the next day I applied the knowledge gained in the master class. First,
I felted a scarf of natural merino wool. I laid out a thin layer of silk fiber on top of
the wool. Silk gives a felted product a noble shine and improves the quality of the
scarf. I diluted the dye according to the instructions and made a weak solution.
Then I dipped the scarf into this solution to give it its original shade. Next, I
spread out the scarf on a plastic sheet making sure there are no folds or wrinkles
and covered the scarf with leaves. For this scarf I took some fresh leaves of
plants around my house: sumac, fern, maple, apple tree.
On top of the leaves I placed a ‘carrier‘ fabric. The ‘carrier’ fabric can be any
fabric that is not stained with acid dyes. I had a piece of old cotton bedding that I
used. I dipped the ‘carrier’ fabric into a bowl with the dye. I waited a little for the
dye to be absorbed into the fabric. Then I wrung out the fabric and put it on top of
the leaves. It is important to press the fabric to the scarf well by hands to remove
excess air.
Next the scarf needed to be steamed in a pot with boiling water to let the dye to
fix to the surface of the scarf. To make this happen, I used a wooden stick and
carefully rolled up my scarf around it. It is very important to roll up the scarf
tightly, avoiding folds and creases to ensure that the leaves adhere well to the
base. At the end, I wrapped my roll in shrink wrap plastic. When heated, this
plastic will create additional pressure inside the roll and the print will be more
contrast. When done, I placed my roll in the pot and steamed it for about 1.5
hours.
I really wanted to quickly open the roll but needed to be patient and wait until it
cooled down completely as it is not safe to breath in the die fumes when hot.
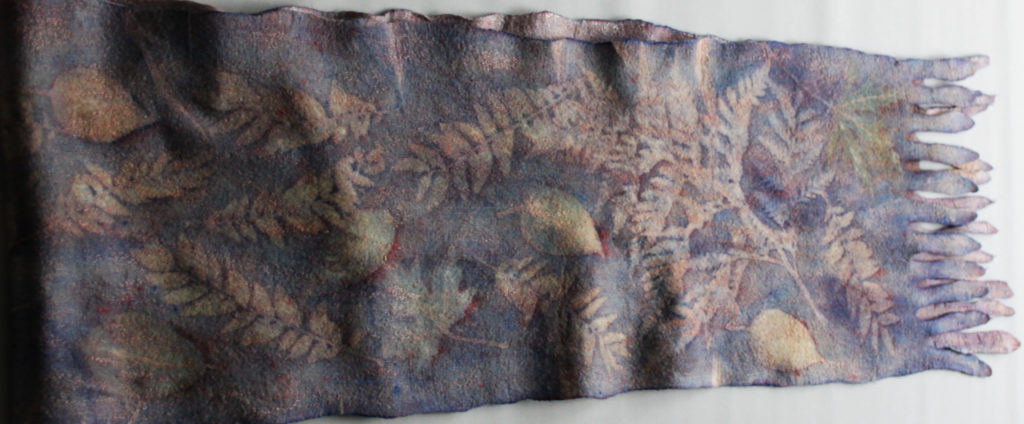
When the roll finally cooled down, I unrolled it. Everything worked out and I saw a
beautiful leaves print!

Maple and apple leaves gave their own color, fern and sumac did not color the
scarf but gave a light print. The experiment went well. I made a few more scarves
using this technique and made some conclusions for myself:
● If the scarf is not decorated with silk, the print of the leaves on the wool will
be indistinct.
● For the multi-colored scarf, I first need to paint the ‘carrier’ fabric in
different colors.
● The ‘carrier’ fabric should be quite wet because the wool absorbs water
well.
● With this method of dyeing, the back of the scarf remains pale, paint and
prints on the back are almost invisible.
● Leaves sometimes give their own unpredictable color.