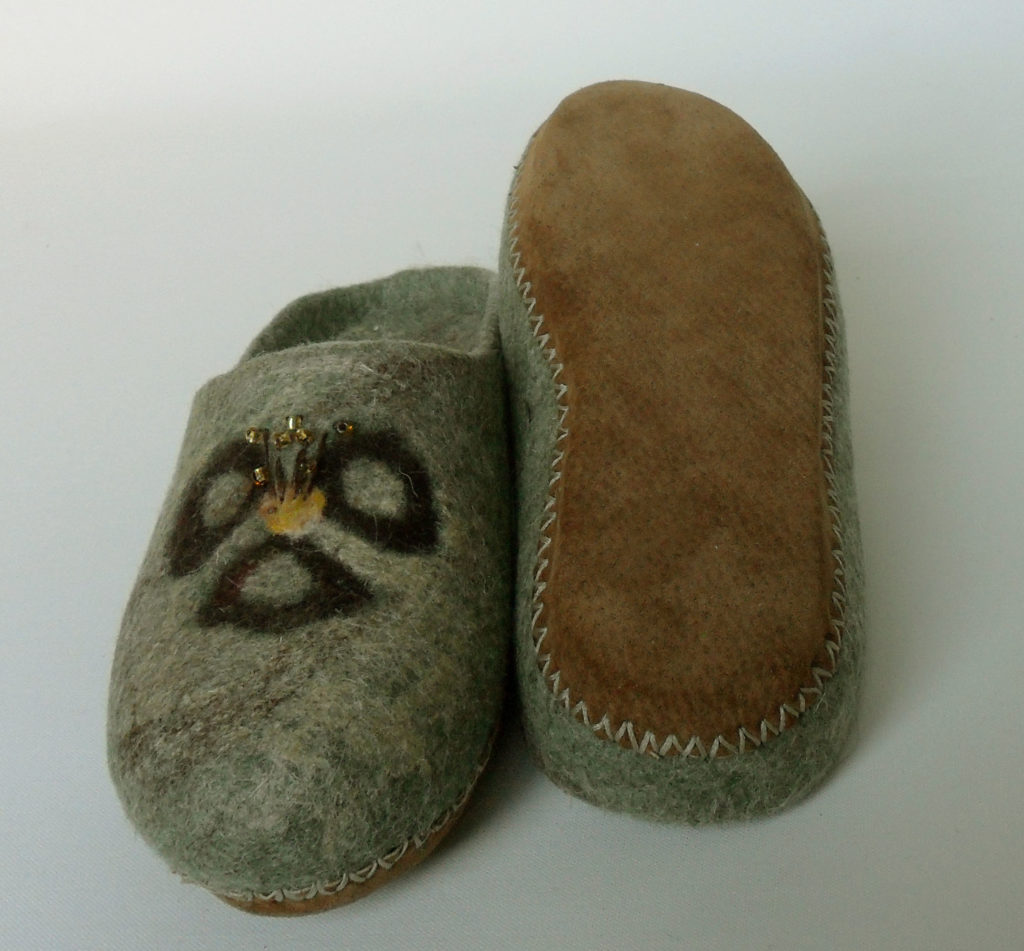
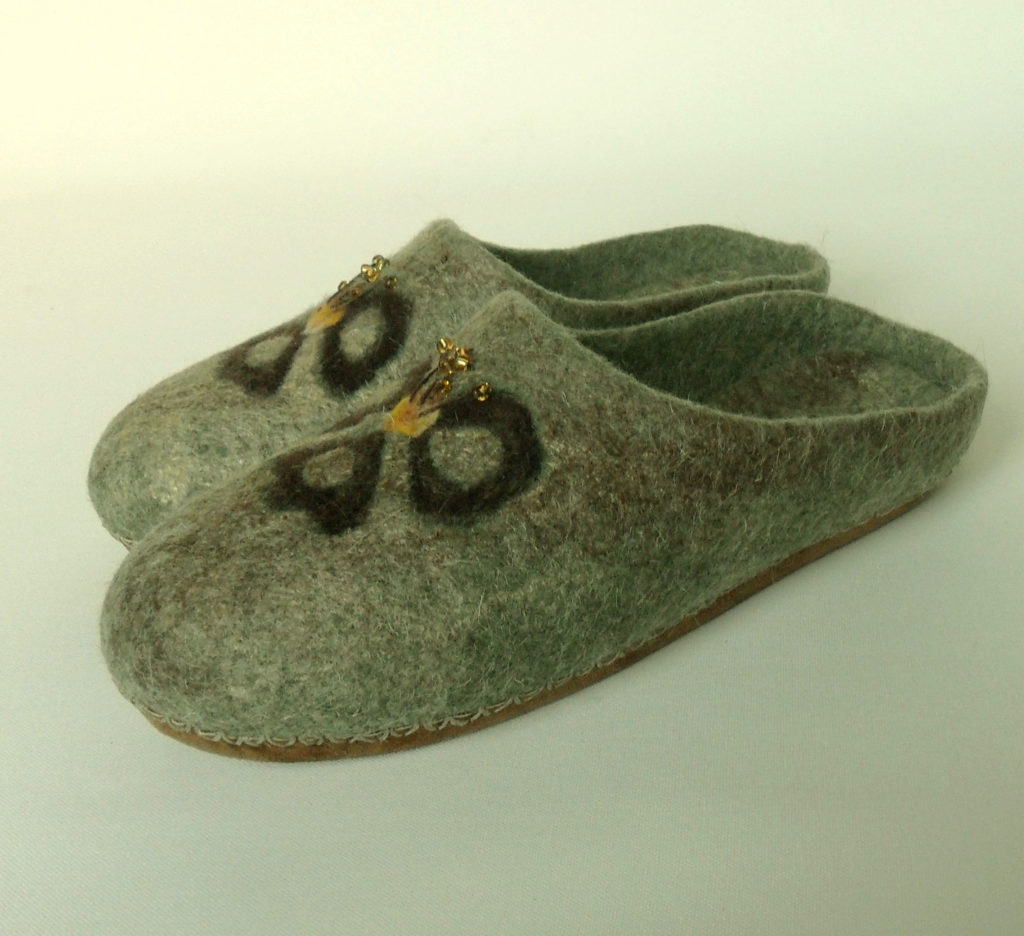
‘Felted shoes’ did sound like something terrible and shapeless from my childhood. I thought, there is no way I will do it! But after looking at the works of other felting masters, I got inspired and decided to try to felt some shoes. I decided to begin with slippers.
Step 1 – make a template.
I put my foot on the paper and circle the foot with a marker. Then I increased the foot pattern by 3-4 centimeters along the entire contour and got the pattern for felt slippers. I transferred the pattern to the template made out of underlayer for laminate flooring. I cut out 2 templates, one for the right slipper, the other for the left one because it is better to roll 2 slippers at once as it is easier to control the size, shape and shrinkage of the slippers.
Step 2 – laying out the wool.
Thick carded wool of 25-30 microns is usually used to make shoes. For my first slippers I bought a Latvian carded wool. Slippers require 200-250 grams of wool. To make two slippers the same I measured the wool. I split the wool in half for 2 slippers.
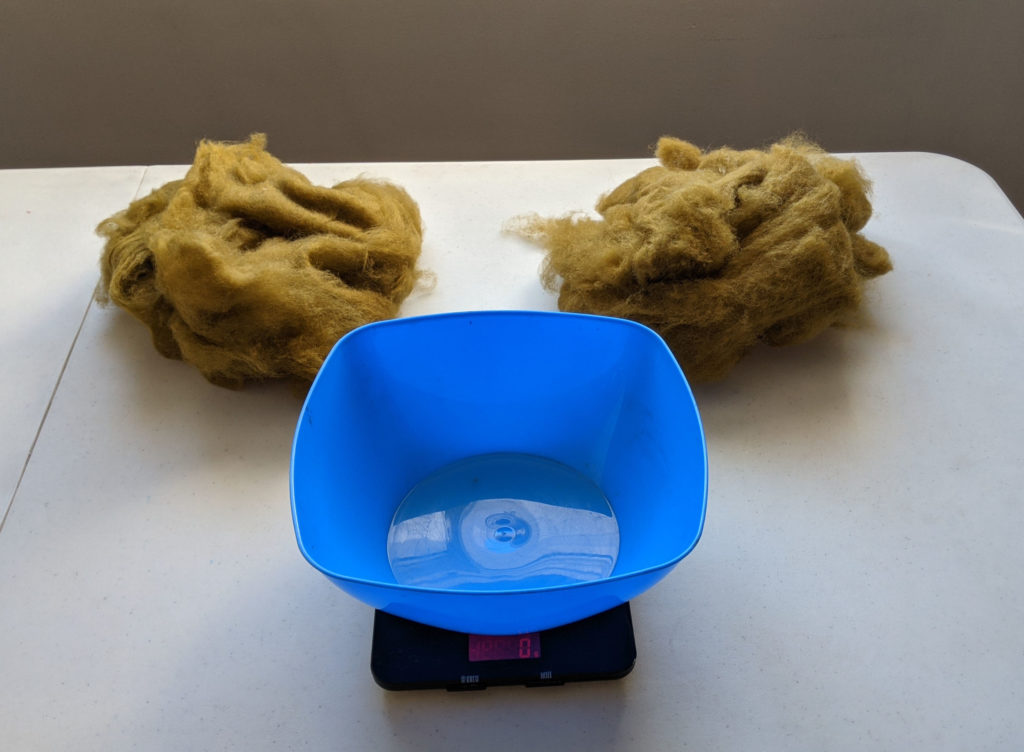
The template was supposed to be covered with wool on both sides, so I divided my 2 piles of wool in half again.
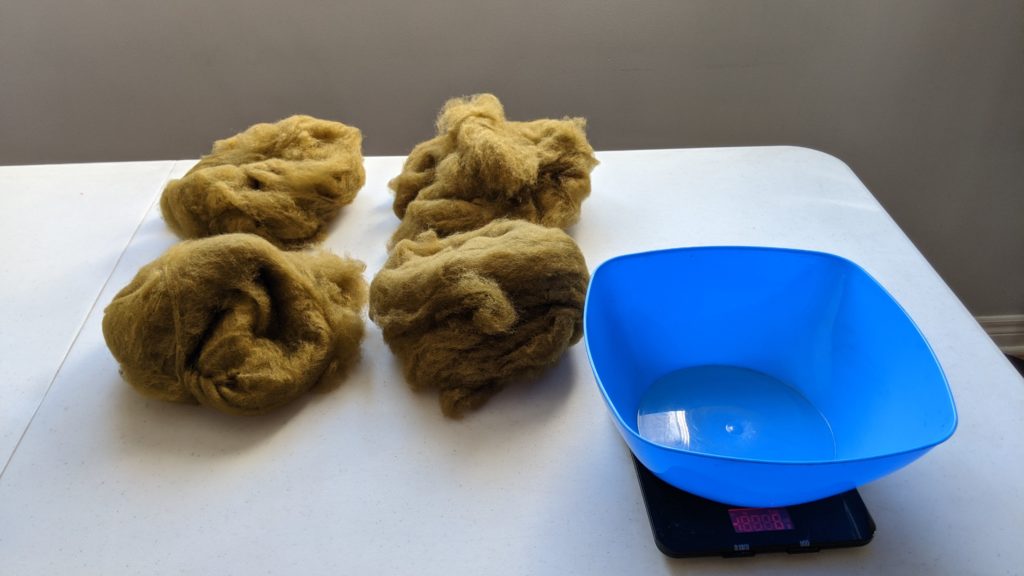
In total I got 4 piles of wool. I spread one of my piles of wool onto a template. The layer of wool was very thick and would have been difficult to wet. I again divided all my piles in half and got 8 parts finally.
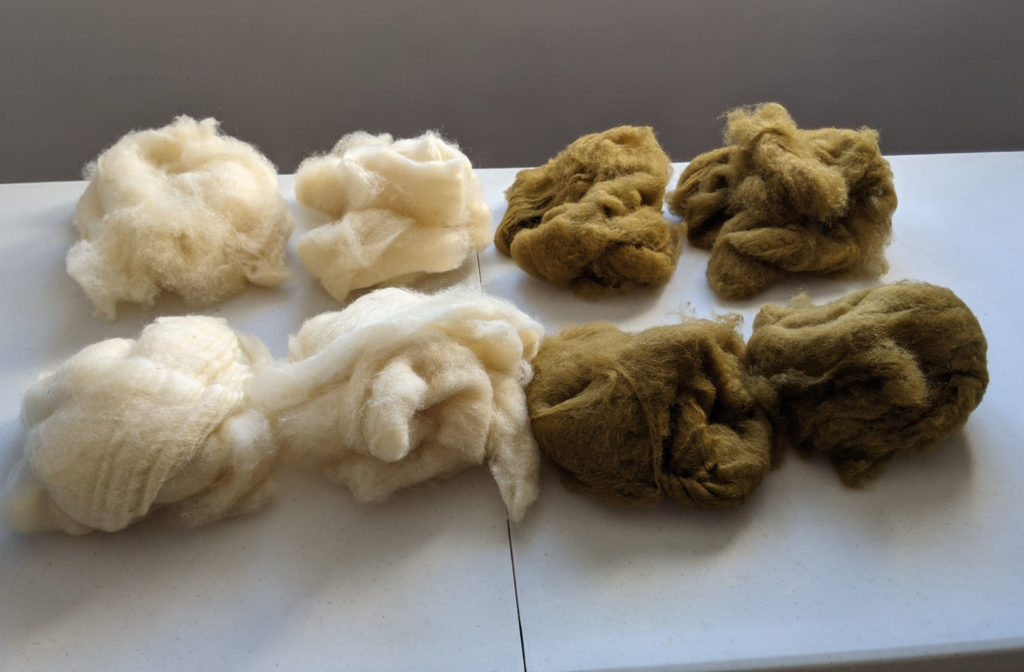
This way it became easier to wet and rub the wool. So I laid out the first layer of wool on one side of the both templates of slippers, moistened it with warm water with a weak solution of dishwashing detergent and rubbed it through the net. Then I flipped the templates with the wool, folded the edges of the protruding wool on the template and spread a layer of wool on the other side of the template, moistened it with soapy water and rubbed it in. I flipped the templates to the first side again and repeated the entire process again.
Step3 – rubbing of slippers.
It is necessary to rub the wool on the template until the future slipper decreases in size and the template clearly becomes cramped inside. At the stage of rubbing, I used my special device – a roller massager for better adhesion of the inner layers of wool. When the felt became dense and stable enough, I made a cut in the wet felt with sharp scissors and removed the template.
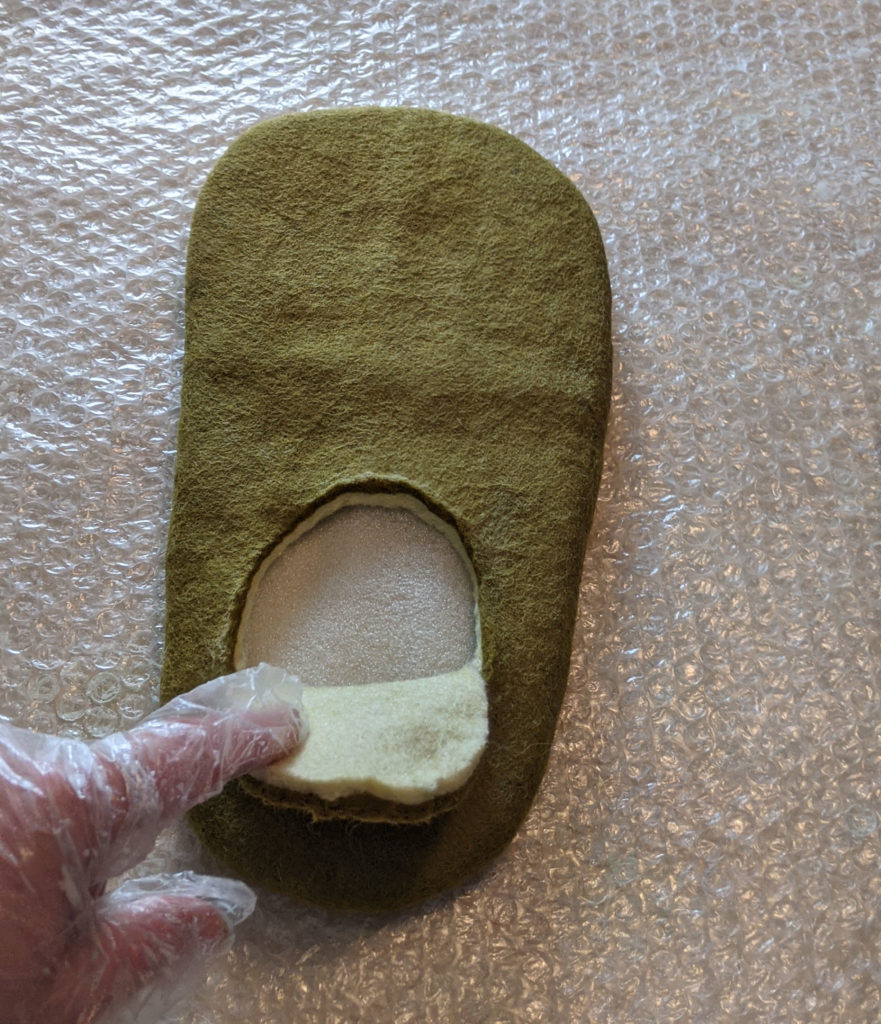
The shape of the cut depends on what kind of slippers you need to make. If you plan to make a heel on slippers, a small oval incision is made at a distance of 6-7 cm from the heel.
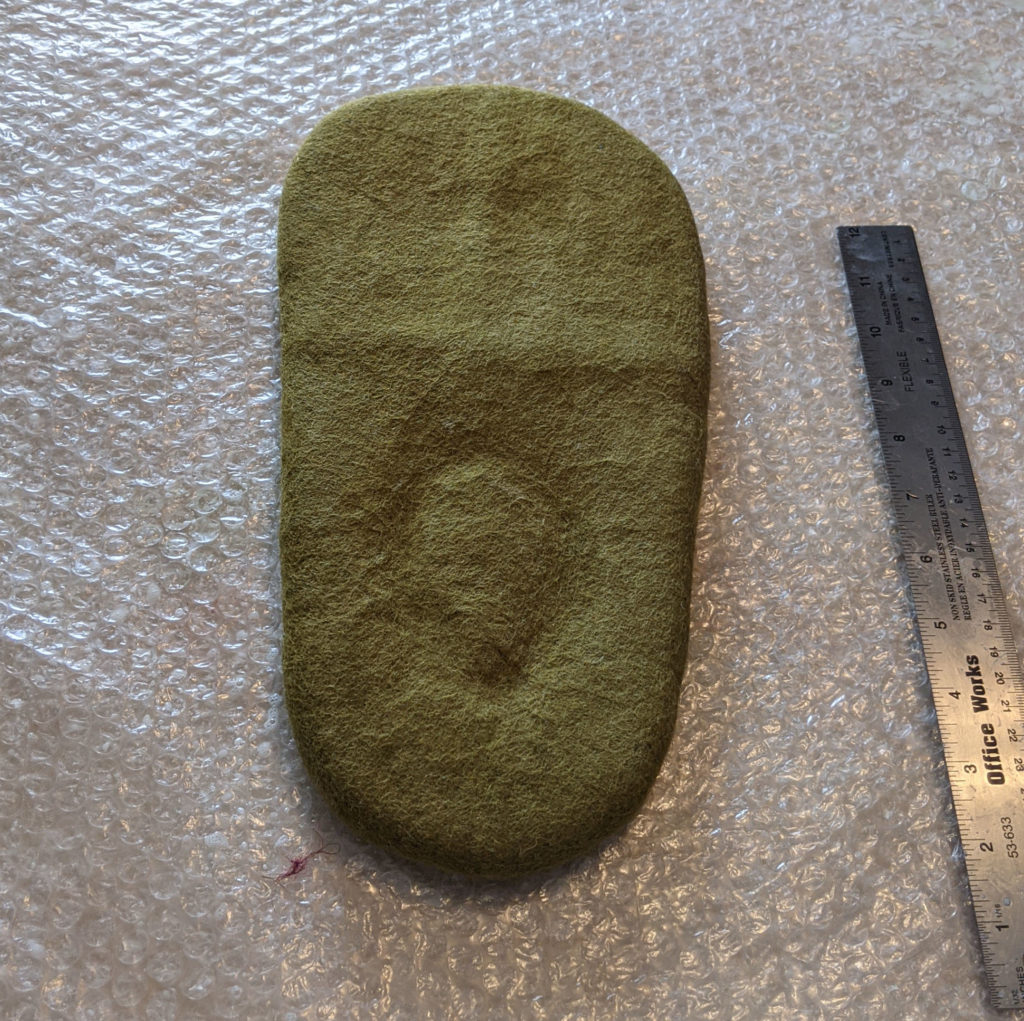
I made slippers without a heel and cut the felt into a crescent shape to make a space for the foot to slide in. A piece of felt under the heel was sewn by hand with thread to the base of the slipper to give additional support for the foot.
Step 4 – felting.
The process of felting slippers is long and laborious. This process consists of rolling slippers in a bubble wrap, then rolling in a towel, then throwing on a table and rubbing again by hand or massager. The same process gets repeated a few times. It took me 3 days to do the felting because the process requires considerable effort. It is necessary to work with the felt well inside and outside of the slippers.
Some felt masters use washing machines to do the felting process to make it easier. I do not like this method because the surface of slippers become bumpy and not smooth. The quality is much worse.
Step 5 – shaping the slippers.
I formed the slippers right on my leg. I dipped one slipper into a bowl of very warm water and shaped it with my hands and soap by rubbing it into shape. I did the same with the second slipper. Finally, the slippers were shaped and rinsed. I added a little vinegar to the last rinse to neutralize the soap in case it still remains. But it was not over yet.
I put the wet slippers on my feet again and shaped them using a wooden mallet. Then I left my slippers to dry. To give a smooth surface, I steamed the slippers with an iron after they were dry. Next I need to do the decor and soles. The soles for felted slippers are necessary because without the sole the slippers will slide on a floor. I found an old leather jacket, cut the sole out of it and sewed it onto my slippers. That was it! The slippers were ready!
