
I am a lover of large bags because I like to carry everything with me. But once I needed a small bag, kinda like a clutch, but with a long strap. There was nothing of that kind in the store. But likely I had some grey wool roving and my own hands! So I decided to felt this purse, the very purse I needed at the moment.
First I made a template for a purse with a flap out of underlayer for laminate.
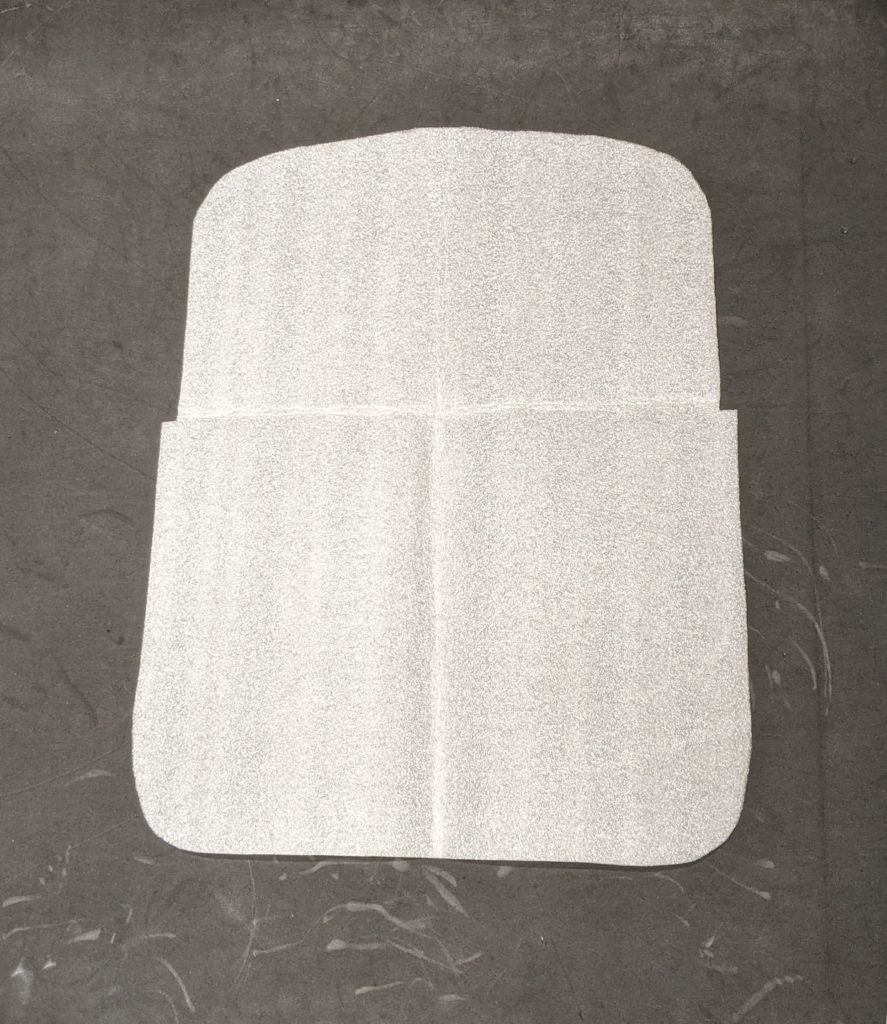
Then I started to spread the wool on one side of the template. I wanted to get a smooth dense felt, so I decided to lay off the wool in 4 layers of medium thickness. It is necessary to use a perpendicular layout for the purse to hold its shape, to be rigid and stable. One layer I laid out vertically, the next layer I laid out horizontally.
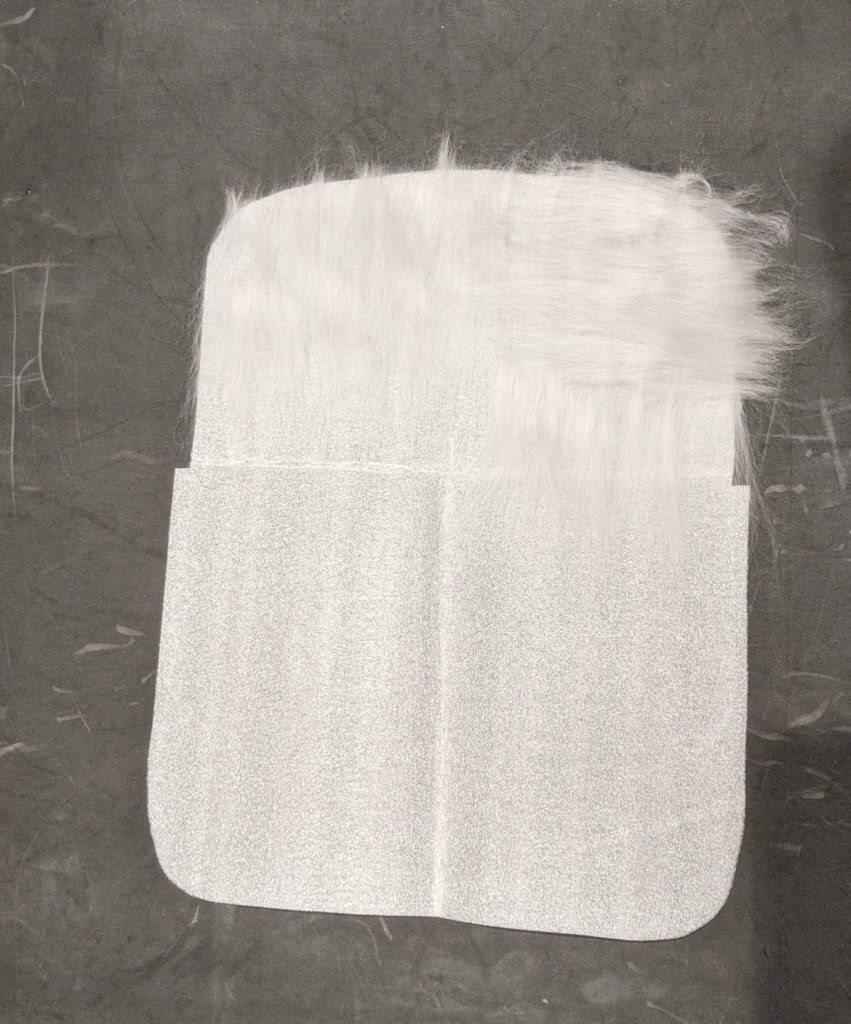
After laying 2 layers of wool I decided to make the decor for the flap of the bag using blockers. Blockers are just pieces of plastic such as construction plastic, plastic bags from a store, garbage bags or even cling wrap. Blockers prevent mixing of wool layers. Blockers are used to create a 3D effect for a felted product.
On the flap of my bag, after 2 layers of light gray wool, I put a layer of dark grey wool. I layed off dark grey wool only on the flap! Then I cut the blocker out of a plastic bag making it smaller than the flap size. I cut out a lot of free shape holes out of that blocker. As a result, I had a piece of plastic with a lot of shapes cut out of it.
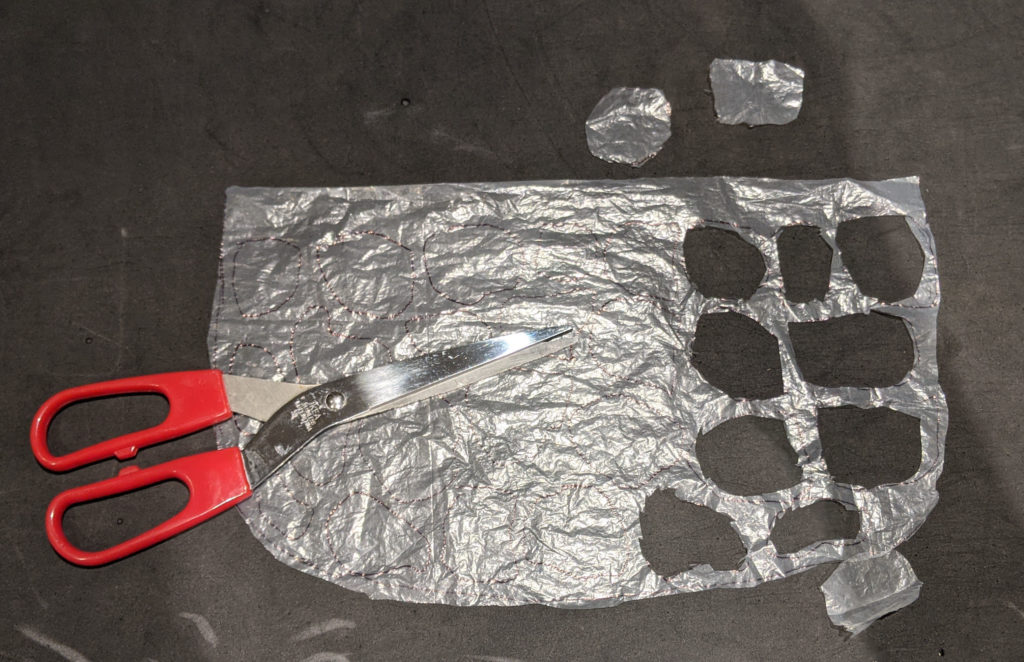
I put this blocker on top of the dark grey wool.
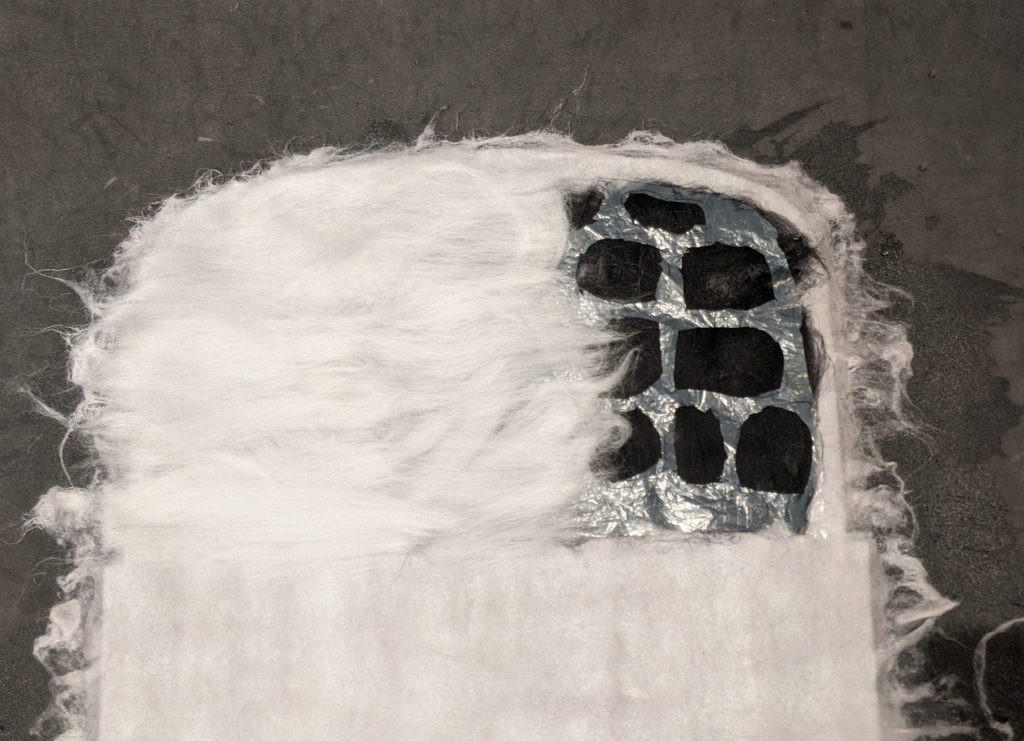
I laid out the next 2 layers (one vertical, one horizontal) of light gray wool covering the whole surface of the template. On top of these 2 layers, I added some light grey rayon fiber. I laid out only one side of my purse. I moistened the layout with soapy water and rubbed it by hand through the net.
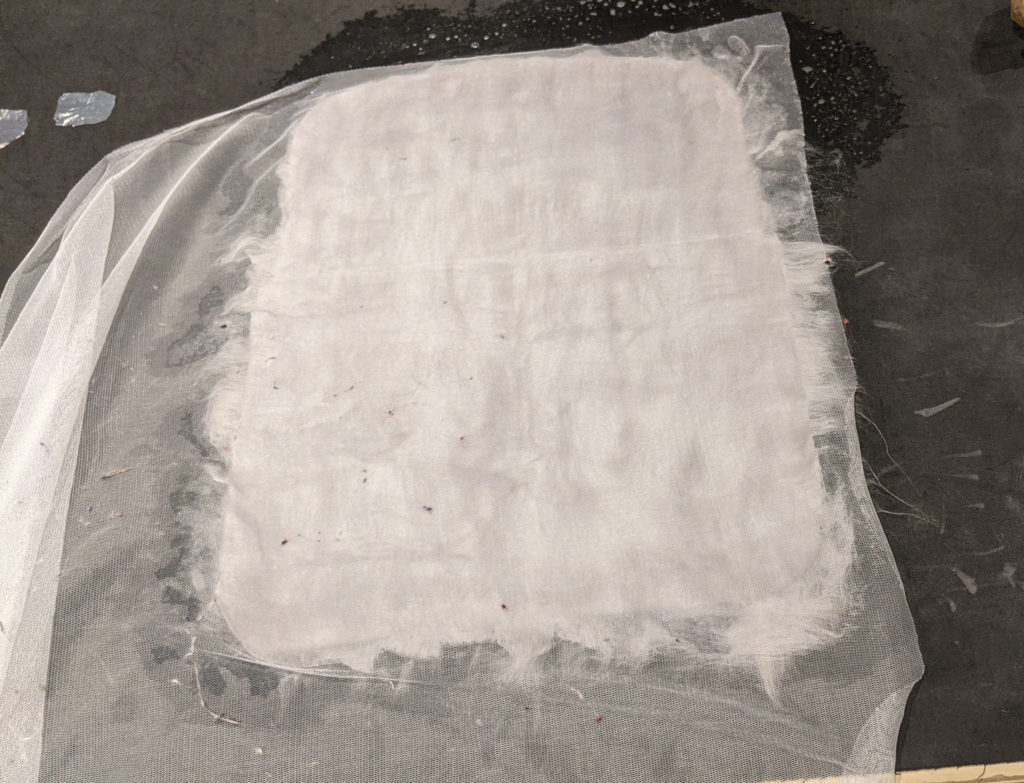
I flipped the template with layered wool and started to layout the other side of the template. On the other side I laid out 4 layers of light grey wool. This time, though, I laid out the wool only on a half of the template avoiding the flap!
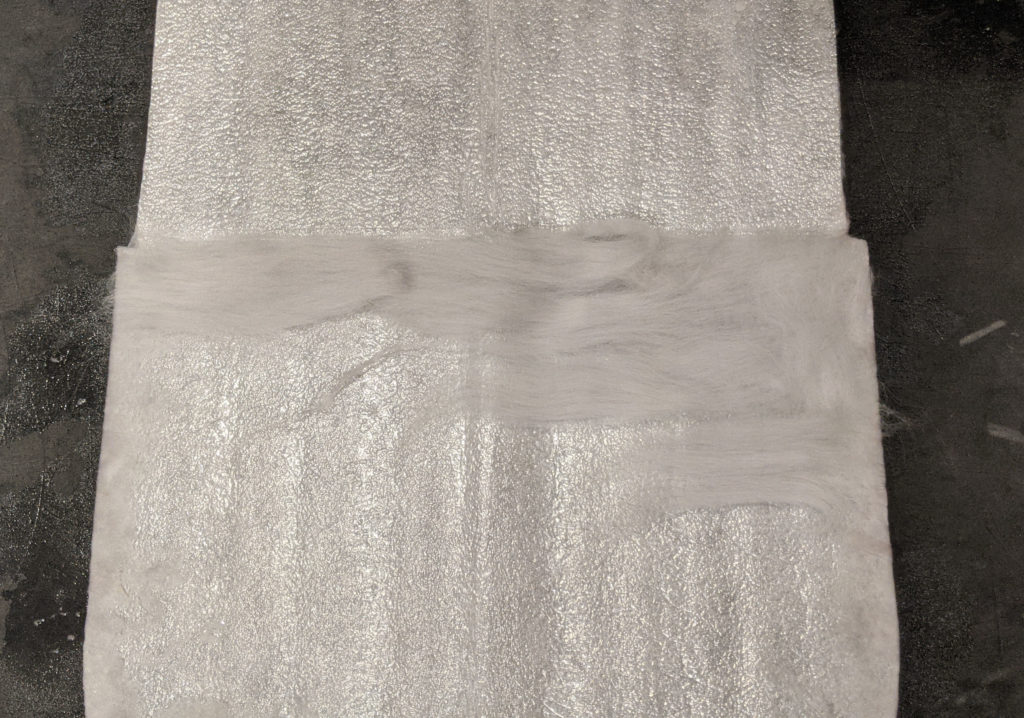
I moistened the wool with the soapy water again and it was ready for felting.
The felting process took a long time because a beautiful dense felt requires a lot of effort and patience. When the felting was almost complete, I needed to take the blocker out of the flap. I cut the top layer of felt along the blocker, took the blocker out and left the wool edges ‘torn’ looking. This look was my original idea but I didn’t really like the design. It looked quite ugly. I trimmed the edges of the cuts and rubbed the edges. This time it looked much better. I worked a lot with the edges of the bag to give them evenness and rigidity.
Next, I placed a wooden kitchen board inside the purse to give the purse the right shape and left it to dry. Once dry, I steamed my purse by iron still with the board inside.
Separately, I felted the strap and the inner pocket for the purse. I sewed a zipper on the pocket and sewed the pocket inside the purse by hand. I used a sewing machine to attach the strap to the purse. Finally I attached a magnetic button to the flap.

The purse was finally done! It turned out dense, hard and smooth just like I wanted: a small purse, with an inner pocket and a long strap in a neutral gray colour. The only downside was that rayon fibers that I used were almost invisible on the surface of the purse, the wool has absorbed them.
But anyway, I really liked the result! I had exactly what I needed! I still have this purse and use it with pleasure.