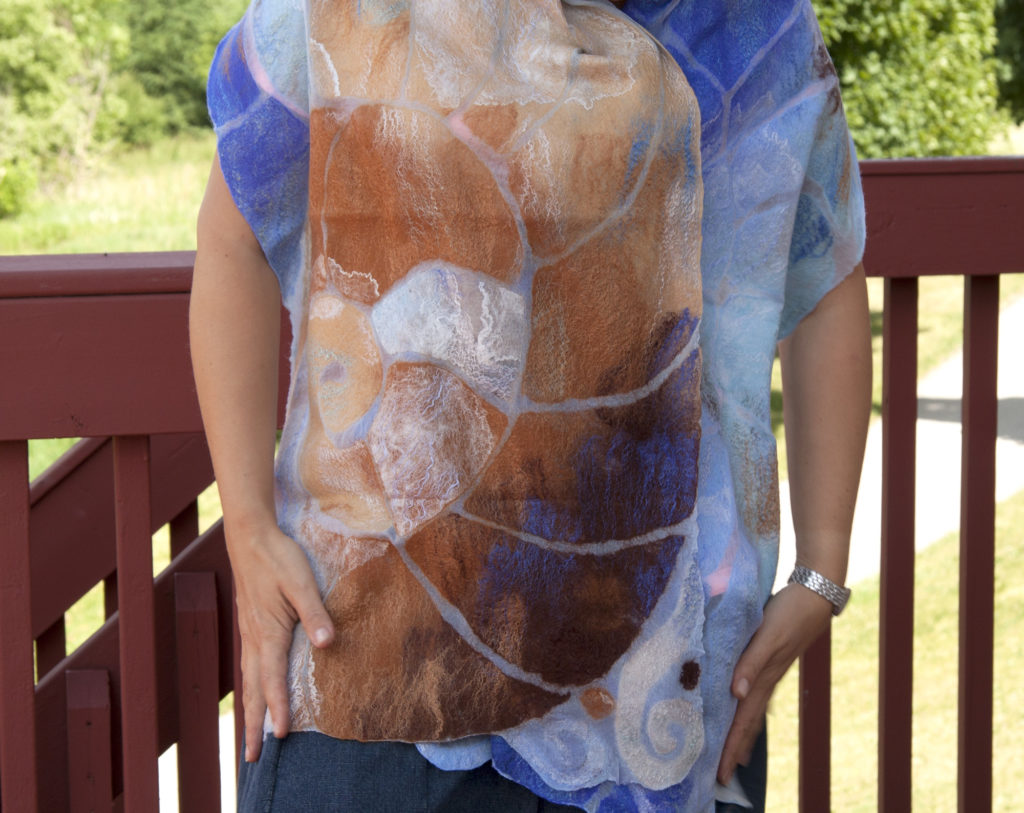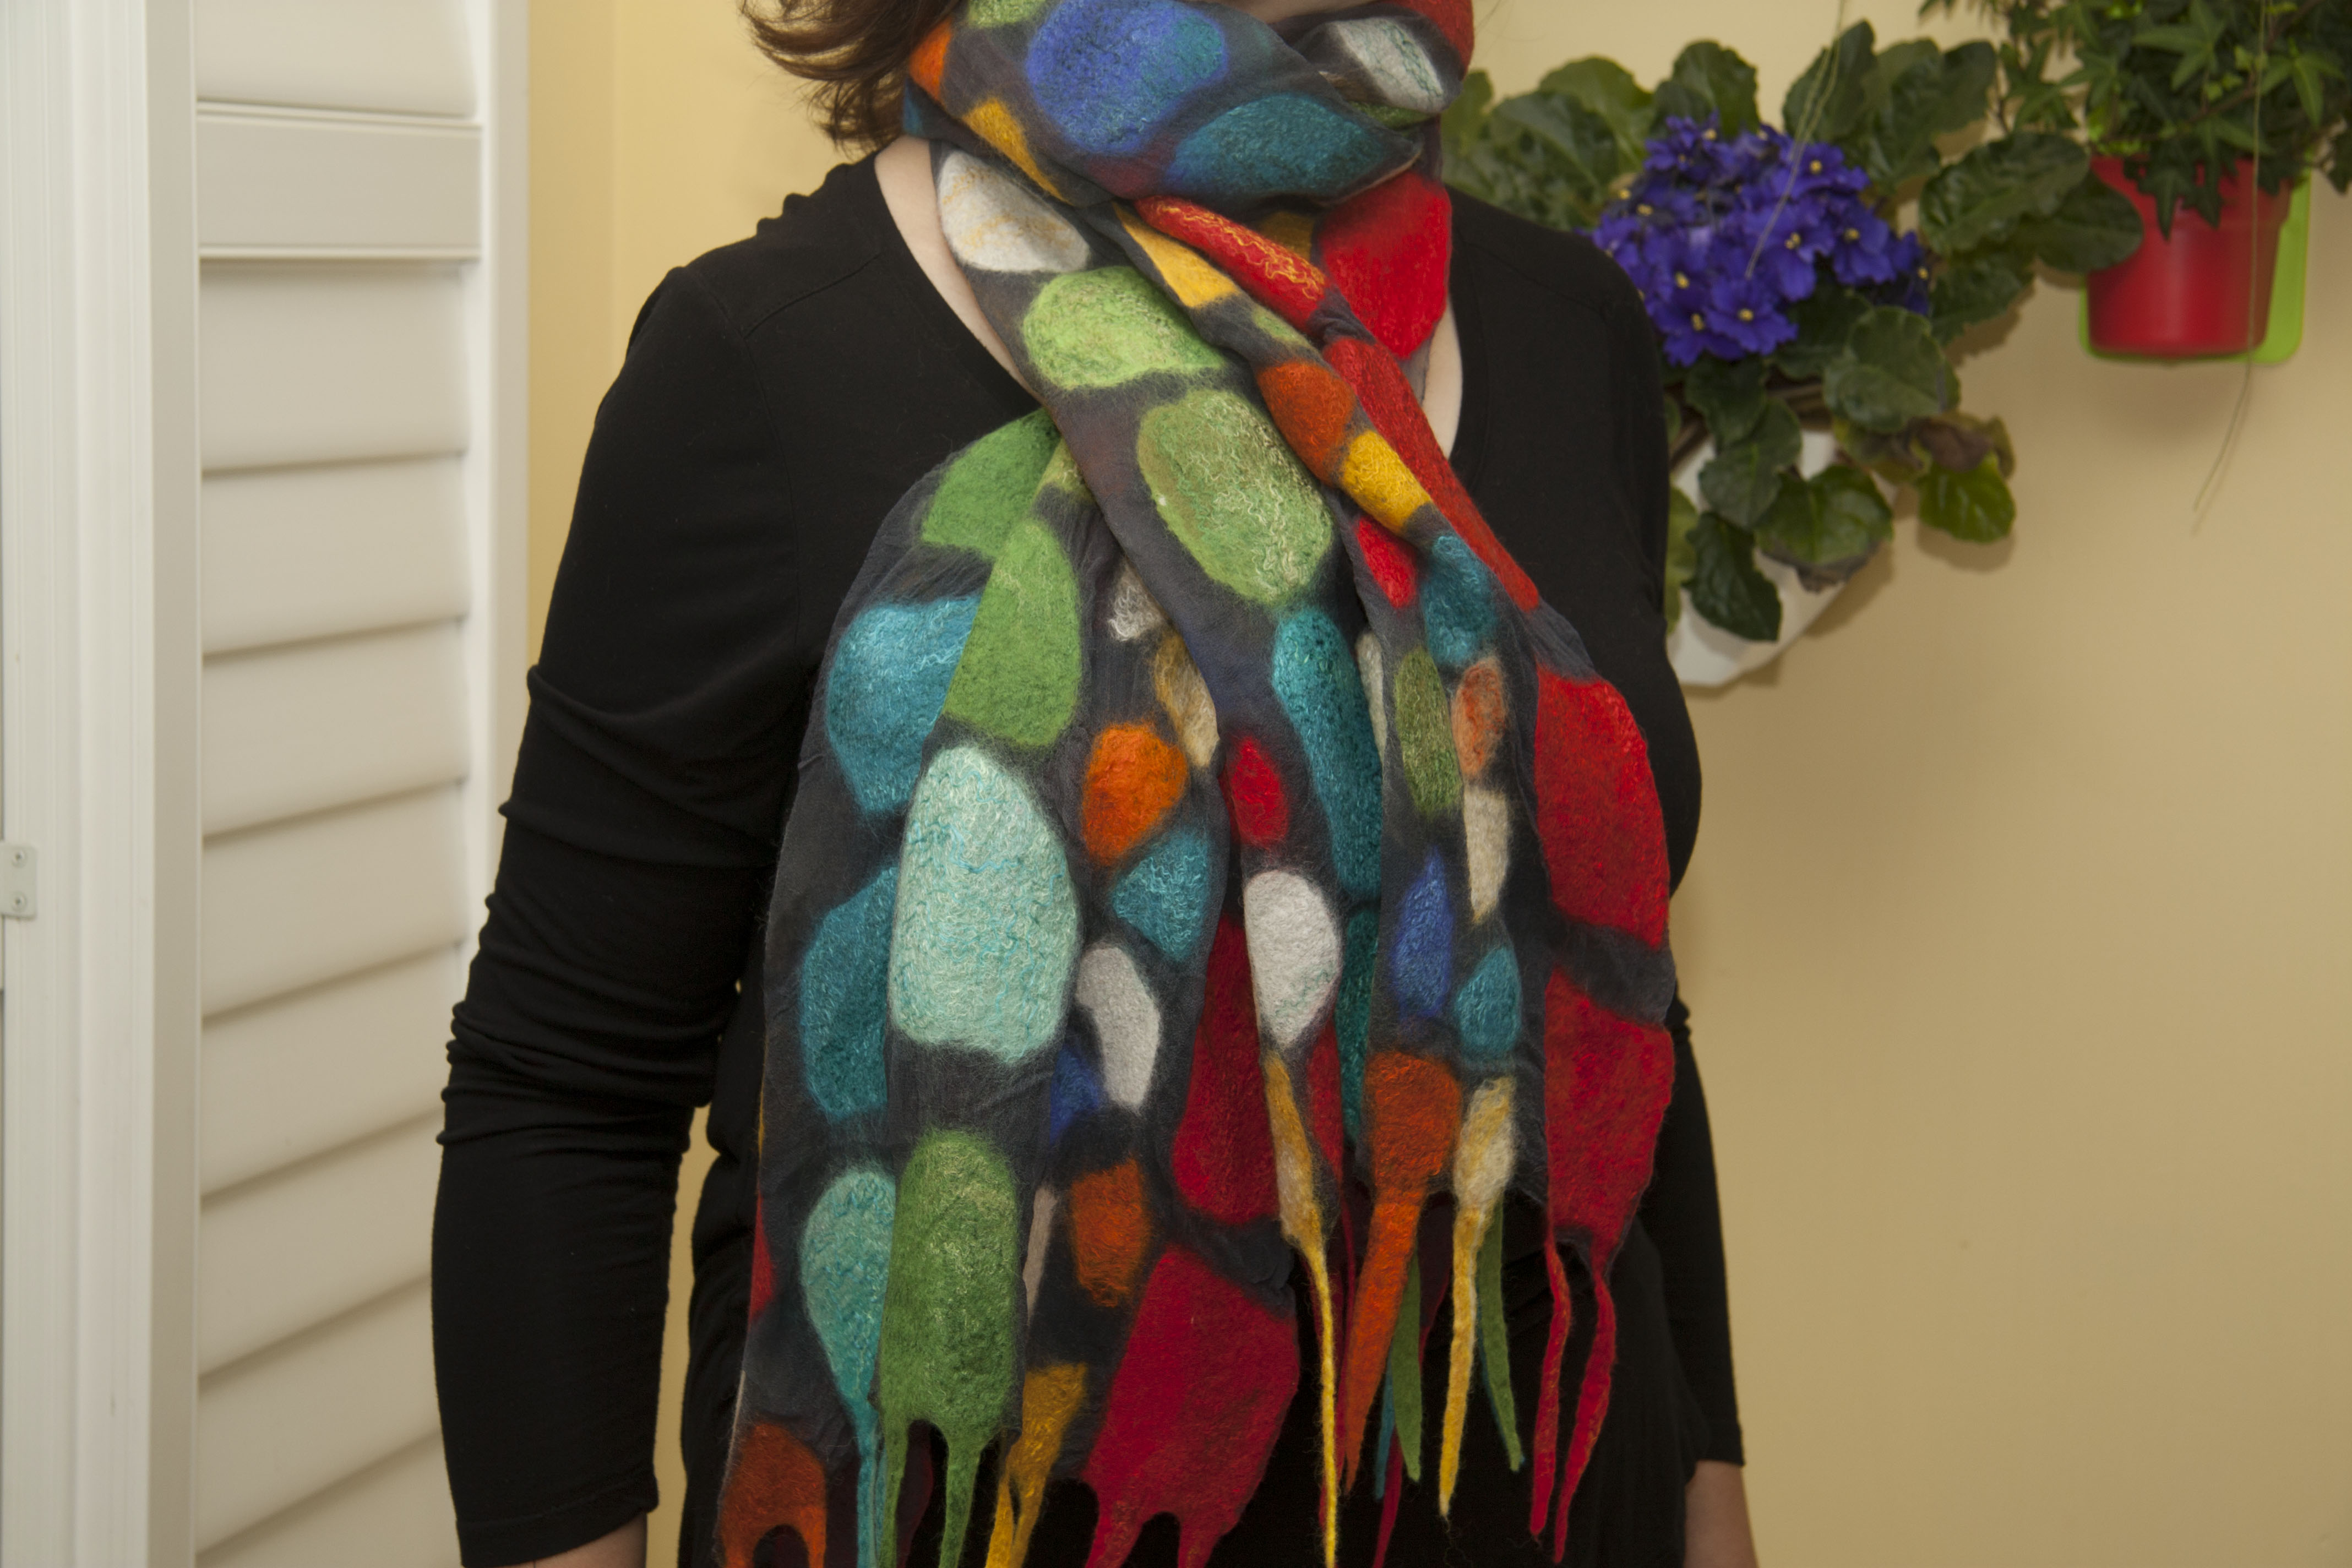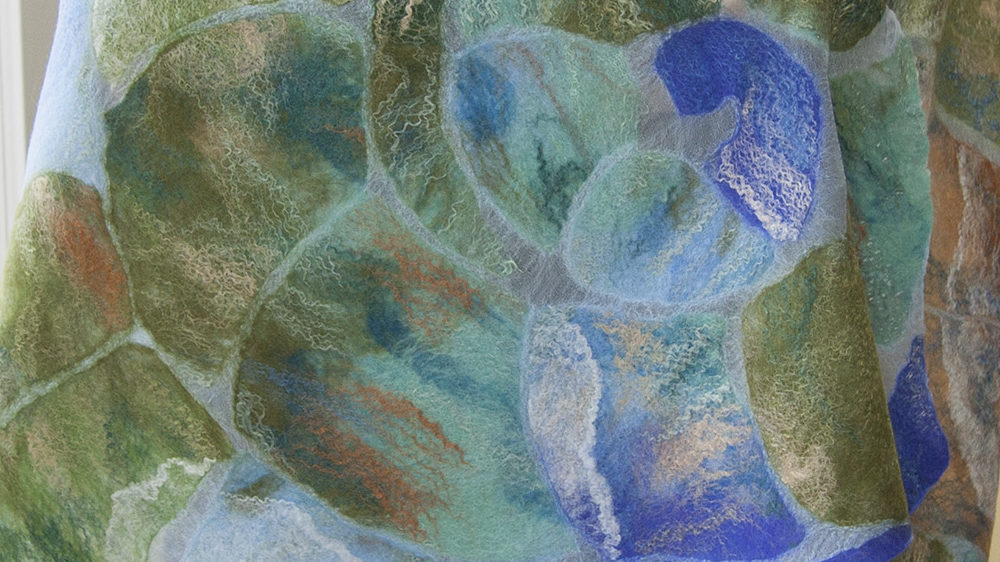
Woolen mosaic on silk is another interesting technique with unlimited design possibilities. This technique is a type of nuno felting method. I learned this technique from a Russian craftswoman Maria Gladchenko and made several scarves using this technique. Let me tell you how this mosaic technique works.
It all starts with a sketch of the future scarf. I just drew mine on piece of paper. Next I chose several colors of 18 micron wool roving and fibers for decoration: silk roving, silk hankies, rayon and soya. Then I started working on a prefelt.
Prefelt is a partially felted wool. I made the prefelt in one big piece but it could have been made in two or three smaller pieces. It does not really matter how many pieces of prefelt there are as only the overall size of prefelt is important. The area of the prefelt should be at least equal to the area of the scarf to be. It is recommended, though, to make the prefelt larger than the future scarf. This will give you more flexibility if there are any areas in prefelt that won’t work with the design.
To make the prefelt, I picked the first color of wool (based on my original sketch). I laid out the wool roving in 4 thin layers in different directions. Such wool placement ensures a uniform shrinkage of the scarf while felting and holds the right shape. Next, I picked another color of wool and attached it to the first color in a way that wool colors blend together and there is no distinctive border. Next I attached a third color of wool to the second color and continued to attach more wool until my design was finished. I checked carefully at the finished wool design and added some wool in places where the color was not right or the layer of wool looked thin.

At this point all wool for the prefelt was laid out according to the design and it was time to add decorative fibers. These fibers can add shine to the scarf and enhance or muffle the scarf’s colors. Decorative fibers can be the same color as the color of wool or a completely opposite color. In my opinion, the finished scarf will look more interesting if colors of decorative fibers are different from wool colors.
Before placing decorative fibers on top of the wool, I moistened the wool with water using a spray bottle. After that, I covered all the wool surface with the decorative fibers. First I laid out silk hankies, next was rayon and the last was a layer of silk roving. After all decor was carefully placed, I moistened the whole prefelt to be with soapy water, covered it with thick plastic and used a handheld sander tool to make silk fibers adhere to the wool. Then I carefully peeled off the plastic and let my prefelt dry.
While the prefelt was drying, I prepared the silk fabric. Sparse silk or silk gauze is usually used as a base for this type of felting. I used natural undyed silk. I washed the silk first, then dyed it in blue color. Next I stretched silk fabric on my table and moistened it with soapy water. Soap in water glues silk fabric to the table and doesn’t let silk fabric move even when dry.
When my prefelt thoroughly dried, I used chalk to transfer sketched design onto the prefelt. Then I cut the prefelt along the lines with sharp scissors and put the fragments of prefelt on the silk fabric at a distance of about 2 centimeters from each other. This process of laying out the fragments of prefelt can take a whole day depending on a complexity of your design.
When all prefelt pieces are in place, they must be carefully rubbed onto the silk base with your hands or a sander tool. When I was sure that the prefelt was firmly attached to the silk I began to felt. I rolled my scarf with a hard pipe wrapped in a towel for 20-25 minutes. At the end of rolling I rinsed my scarf, squished it in a towel and steamed it with an iron. Finally my beautiful scarf was done!
Scarves and shawls that are made using wool mosaic technique are thin and very beautiful. I like this technique very much!
